


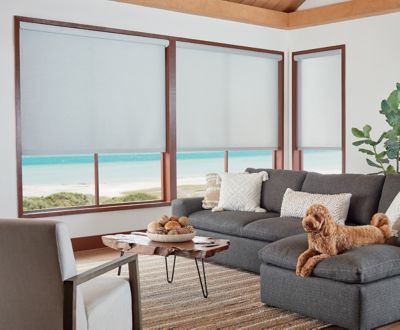

R-TEC Automation® | Product Videos
How To Order R-TEC Automation® Drapery Hardware Systems
Table of Contents:
0:00:05 | Intro - How To Order R-TEC Automated Track Systems
0:00:45 | Step 1 - Select the System
0:01:19 | Step 2 - Select the Track Color
0:01:49 | Step 3 - Select the Motor Power
0:02:30 | Step 4 - Select the Drapery Style, Draw & Master Carrier
0:03:56 | Step 5 - Select the R-TEC Smart Controls
0:04:55 | Intro - How To Order Automated 1 3/8" H-Rail
0:05:40 | Step 1 - Select Kit Style
0:06:30 | Step 2 - Select the Kit Finish
0:06:57 | Step 3 - Select the Select the Motor Power
0:07:44 | Step 4 - Select the Drapery Style, Draw & Master Carrier
0:08:56 | Step 5 - Select R-TEC Smart Controls
View the Mastering Motorization Series


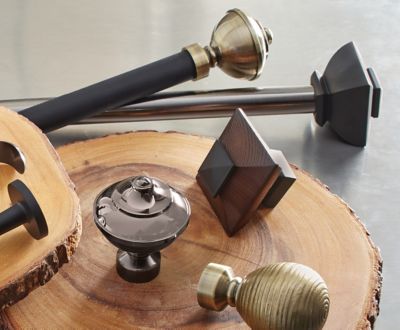
Components & Add-Ons in R-TEC Automation® Drapery Hardware Systems
Table of Contents:
0:00:05 | Intro - R-TEC Automation® Track System Components
0:00:27 | Intro - Components for Automated 1 3/8" H-Rail Systems
0:00:42 | Push 5 Channel Handheld Remote
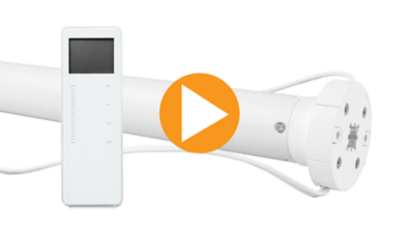
0:00:48 | Slim Drapery Motor, Li-ion Battery + Charger
0:01:00 | AC Power Options
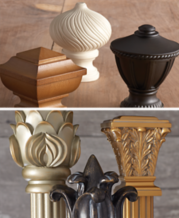
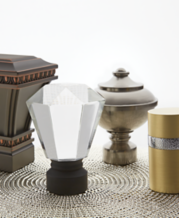
0:01:20 | AriA® Antiquities Finials
0:01:38 | Intro - Components for R-TEC Automated Track Systems
0:01:49 | Push 5 Channel Handheld Remote
0:01:53 | Slim Drapery Motor, Li-ion Battery + Charger
0:02:00 | AC Power Options
0:02:07 | Finestra® Fascia + Finials
View the Mastering Motorization Series
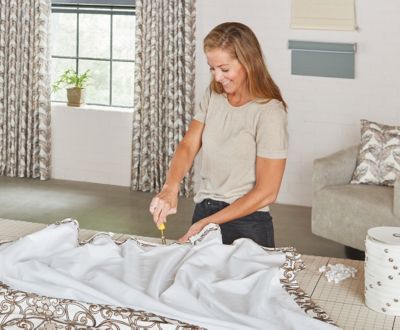
How To Install R-TEC Automation® Drapery Hardware Systems
Table of Contents:
0:00:05 | Intro - Installation Tips - Automated 1 3/8" H-Rail Traverse
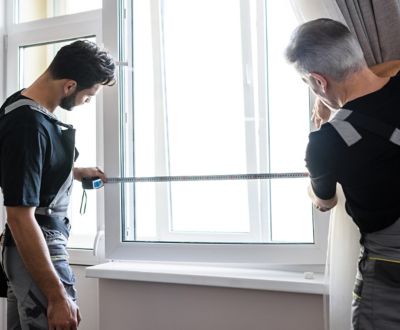
0:00:22 | Bracket Mounting Recommendations
0:00:49 | Installing the H-Rail Brackets
0:01:42 | Installing the System
0:02:10 | Intro - Installation Tips - R-TEC Automation Track System
0:02:16 | Bracket Location
0:03:49 | Wall Mount Assembly OR Ceiling Mount Assembly
0:04:04 | Install System into Quick Connect Clip
0:04:29 | Center Opening System
0:05:06 | Ripplefold and Pinch Pleat Install End Hooks
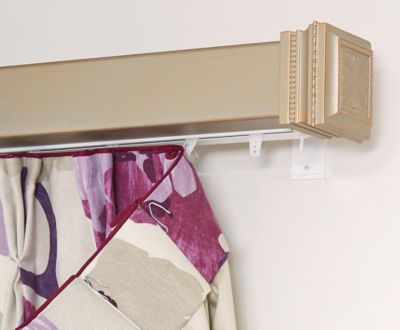
0:05:15 | Fascia Installation on Track
0:05:31 | Finial Installation on Fascia
View the Mastering Motorization Series

How To Attach the Motor, Pair & Program R-TEC Automation® Drapery Systems
Table of Contents:
0:00:05 | Intro - Attaching Motors to R-TEC Automation Systems
0:00:15 | Align and Engage the Li-ion Battery or AC Power with the Motor
0:00:31 | Align and Engage the Motor with the Drive Pulley
0:00:42 | Charging Instructions
0:00:53 | Intro - How To Pair and Program Push5 Remote to R-TEC Automation Systems
0:01:36 | Pair
0:02:19 | Check and Change Direction of the Motor
0:03:10 | Set Favorite Position
0:04:21 | Lock the Remote
0:05:28 | Reset to Factory Settings
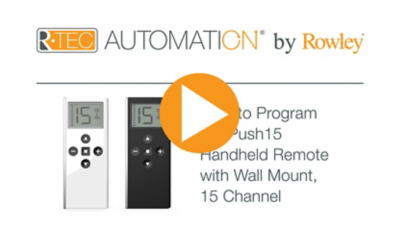
0:06:00 | Intro - How To Pair and Program Push15 Remote to R-TEC Automation Systems
0:07:16 | Pair
0:07:52 | Check and Change Direction of the Motor
0:08:35 | Set Favorite Position
0:09:17 | Lock the Remote
View the Mastering Motorization Series
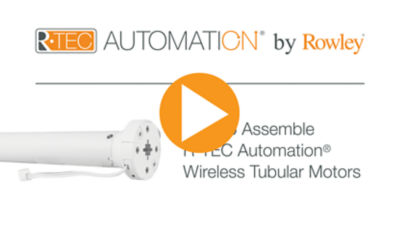
How To Assemble R-TEC Automation® Shade Tube
Table of Contents:
0:00:05 | Intro - R-TEC Automation® Shades
0:01:11 | Components
0:01:59 | Attach the Crown & Drive Set to the Shade Motor
0:02:43 | Place Motor Adapter on End of the Motor
0:03:45 | Slide Motor into Tube
0:04:10 | Place the End Pin in Tube
0:04:29 | Summary
0:04:45 | Custom Solutions
View the Mastering Motorization Series
How To Pair & Program R-TEC Automation® Shades
Table of Contents:
0:00:05 | Intro - Basic Programming for R-TEC Automated Shade Systems
0:00:30 | Pair the Motor to the Remote
0:01:08 | Check or Change the Direction of the Shade Motor
0:01:55 | Set the Upper and the Lower Limits
0:05:05 | Set a Favorite Position
0:06:48 | Lock the Remote
0:07:55 | Reset to Factory Settings
View the Mastering Motorization Series