HOW-TO GUIDE:
Fabricate Valance-Topped Panels
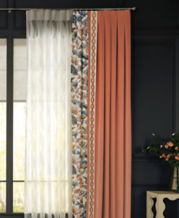
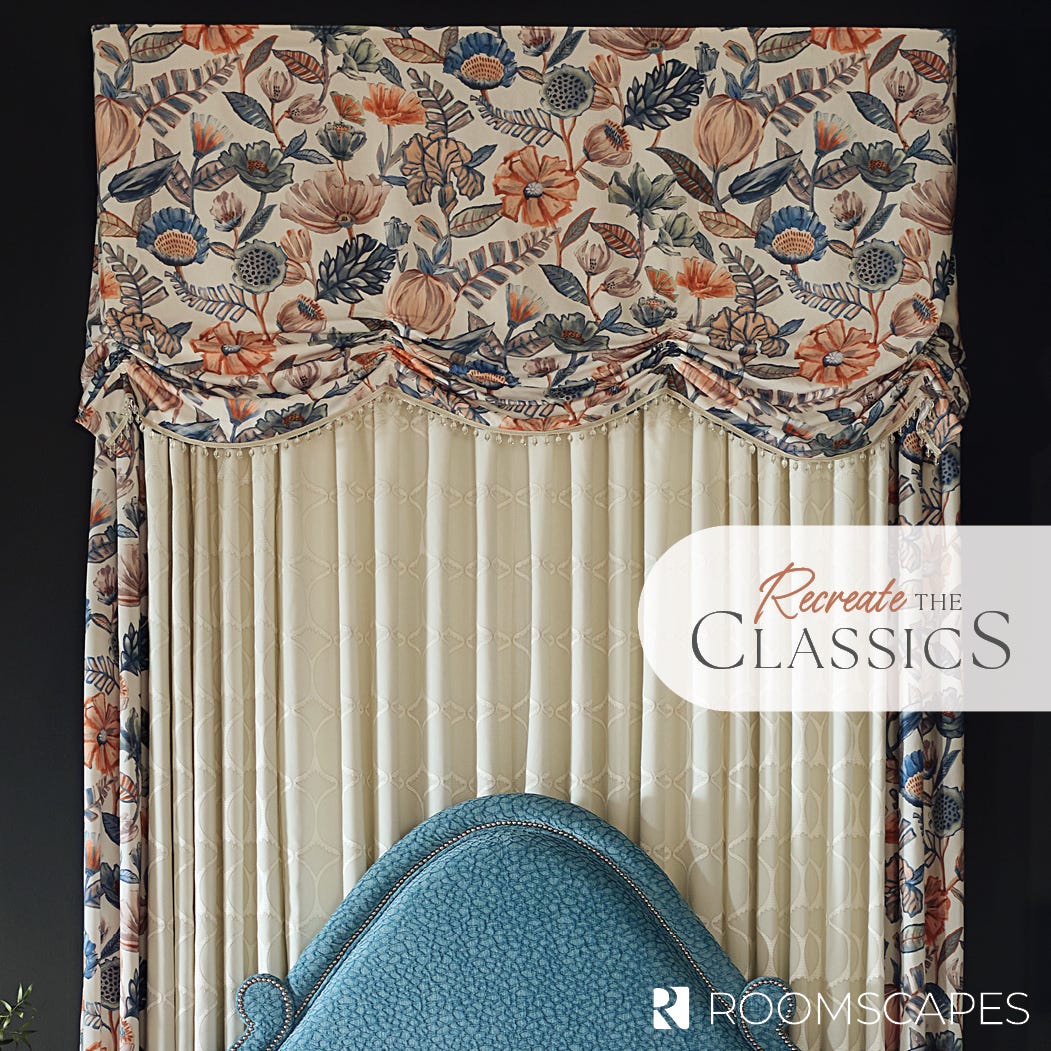
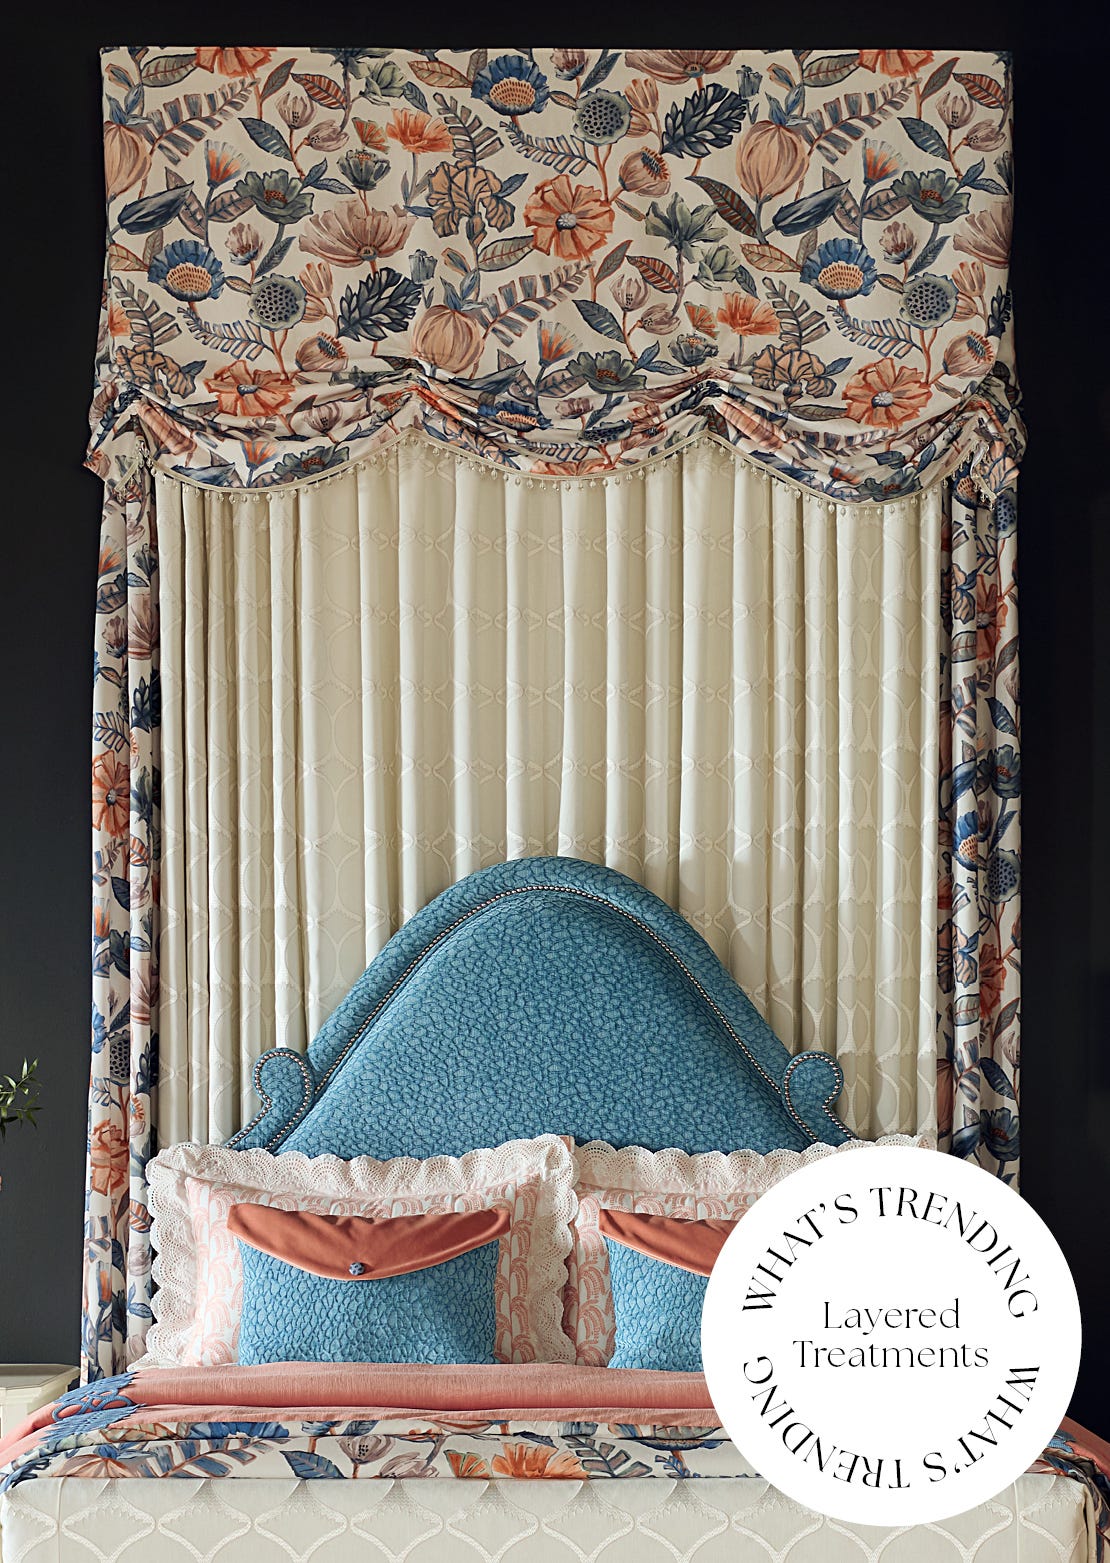
Fabricate a bed valance with beaded trim, paired with elegant drapery panels. Discover how to design and install this sophisticated treatment that brings a touch of modern glamour to any sleep space.
Explore the project steps below with videos or download the printable version. Discover all Recreate the Classics projects.
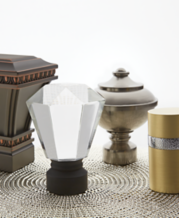
PRODUCTS USED
Overview
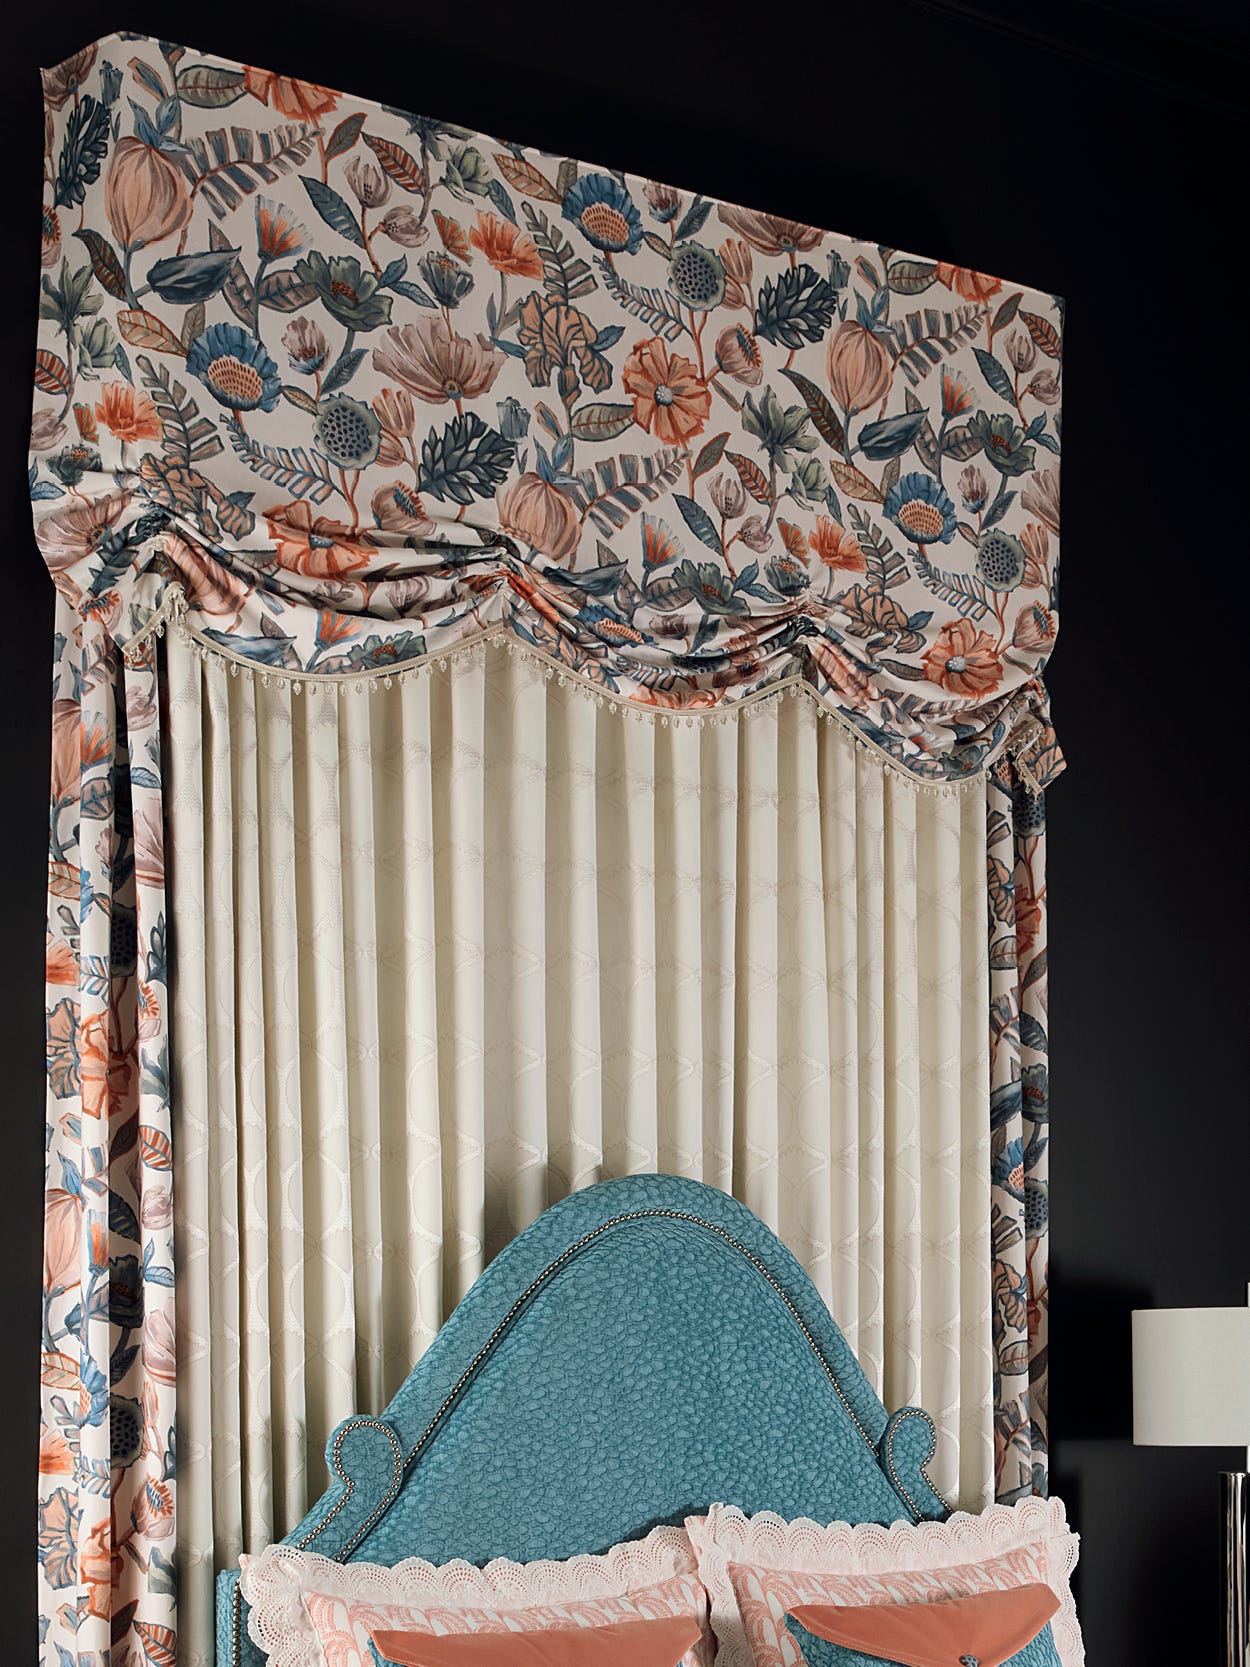
Our over-the-bed valance and panels added drama to the bedding area, creating a beautiful layered look. For an artisanal touch, we added bead trim to the bottom curves of the valance. For the panels, we chose a classic two-finger pleat style. This combination created a sophisticated and inviting atmosphere in the space.




Planning
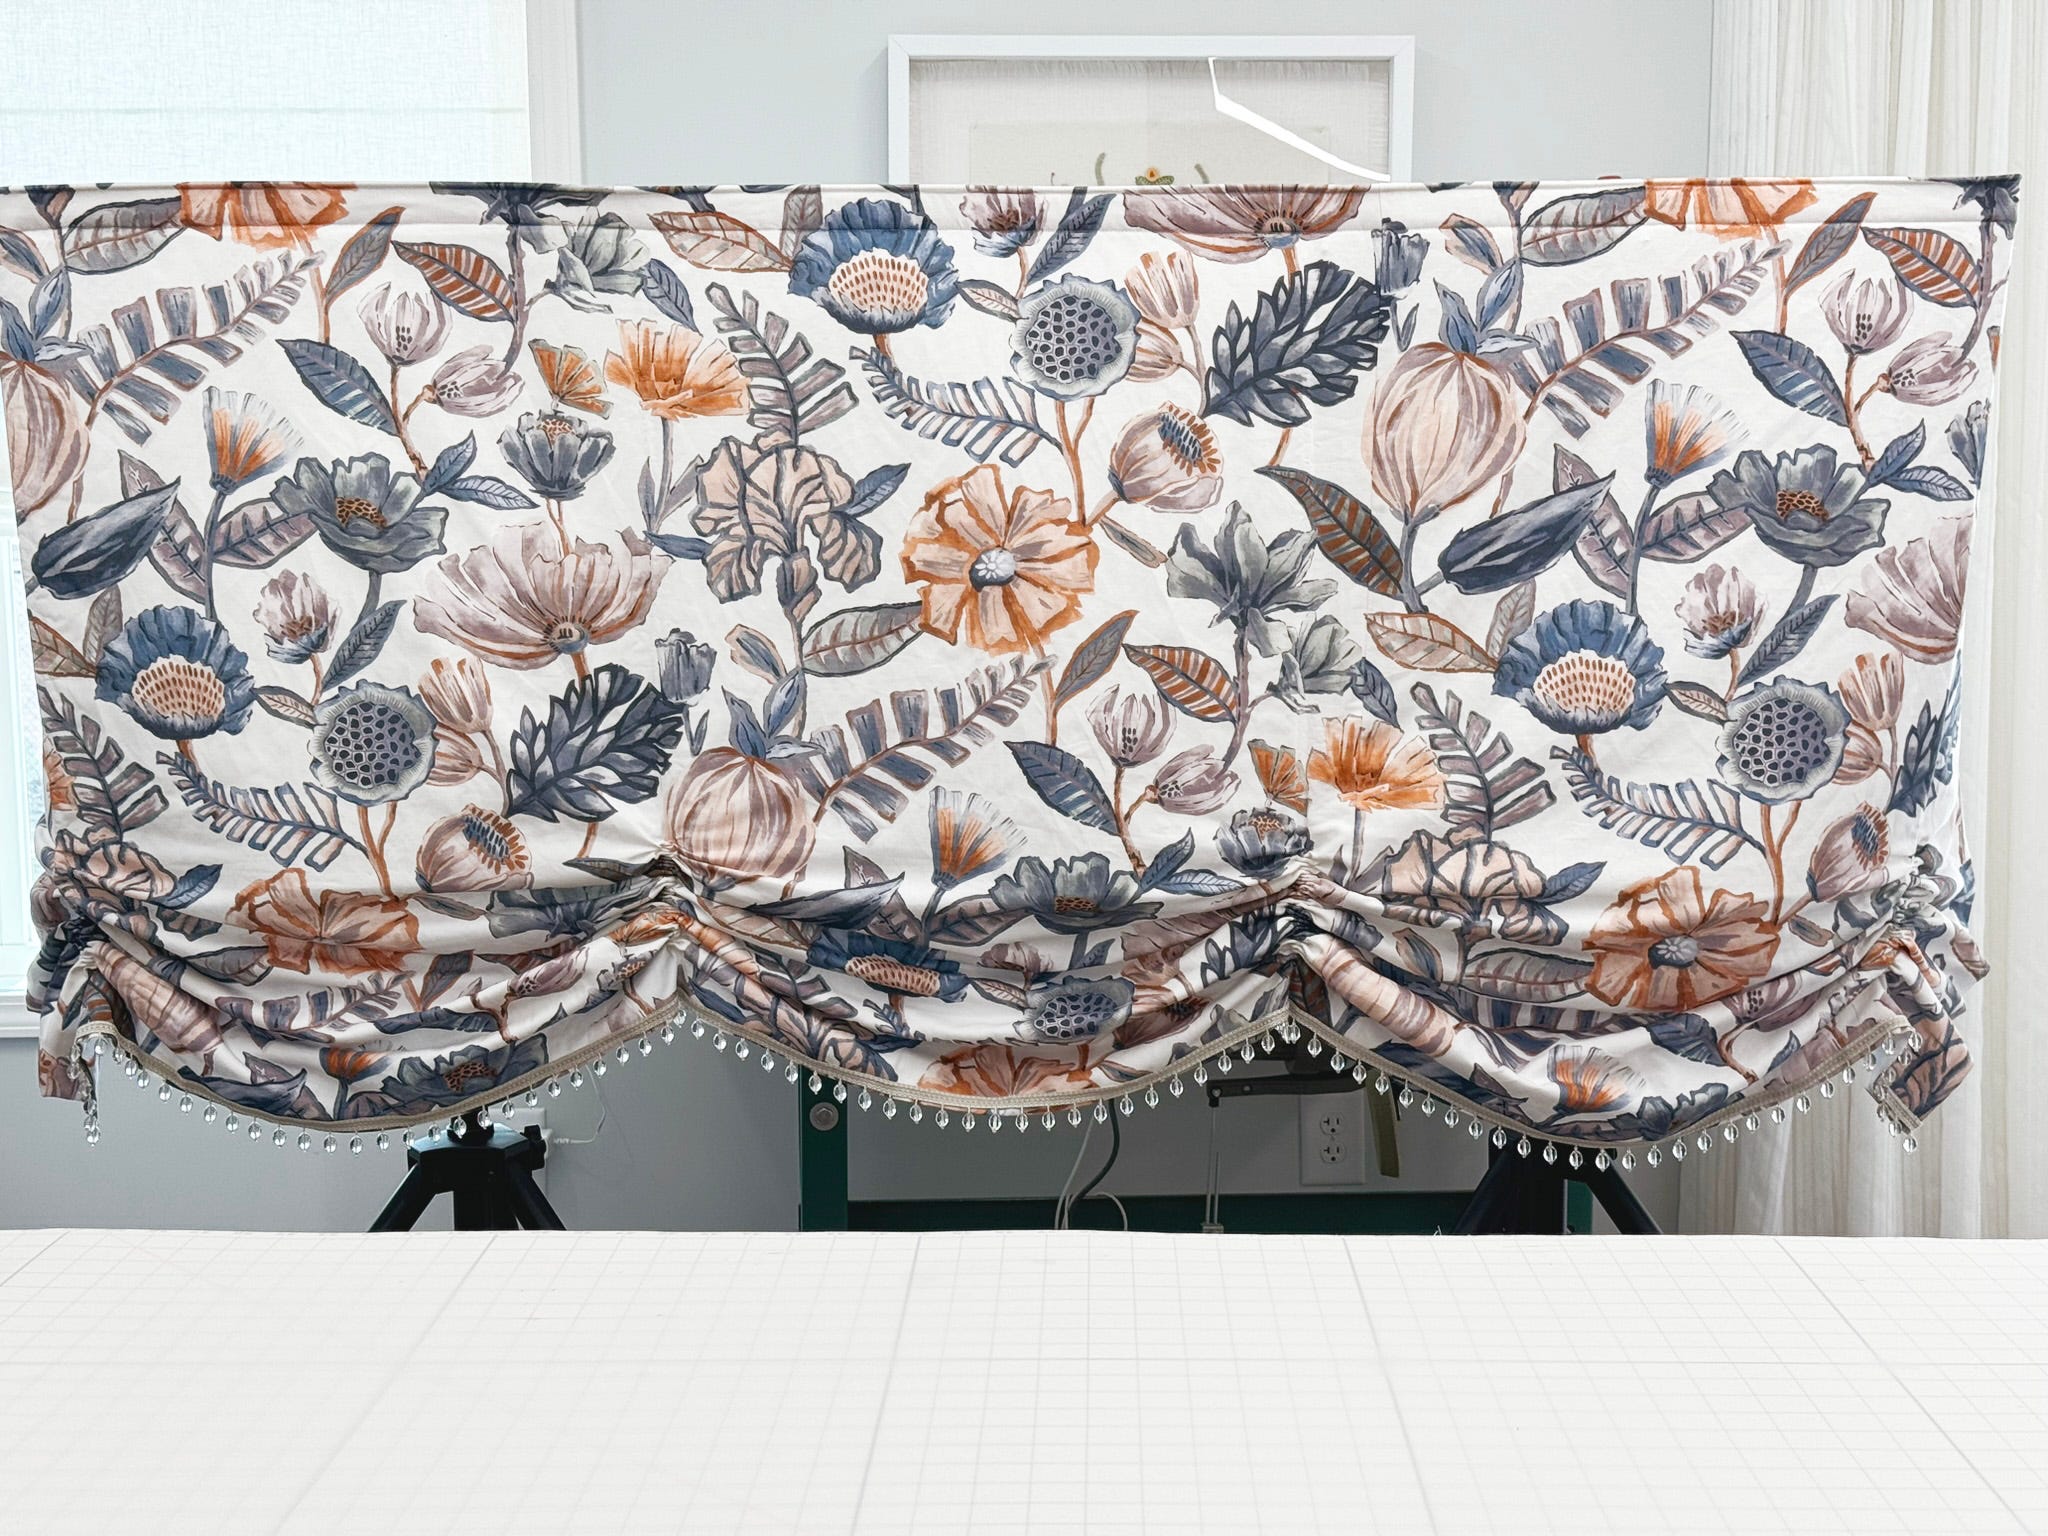
The beauty in this style valance is in the fullness of the fabric created by gathering a Shirring Tape, which is stitched to the fabric and lining.
The fabric is not gathered along the top but up from the bottom, creating three swoops across the treatment.
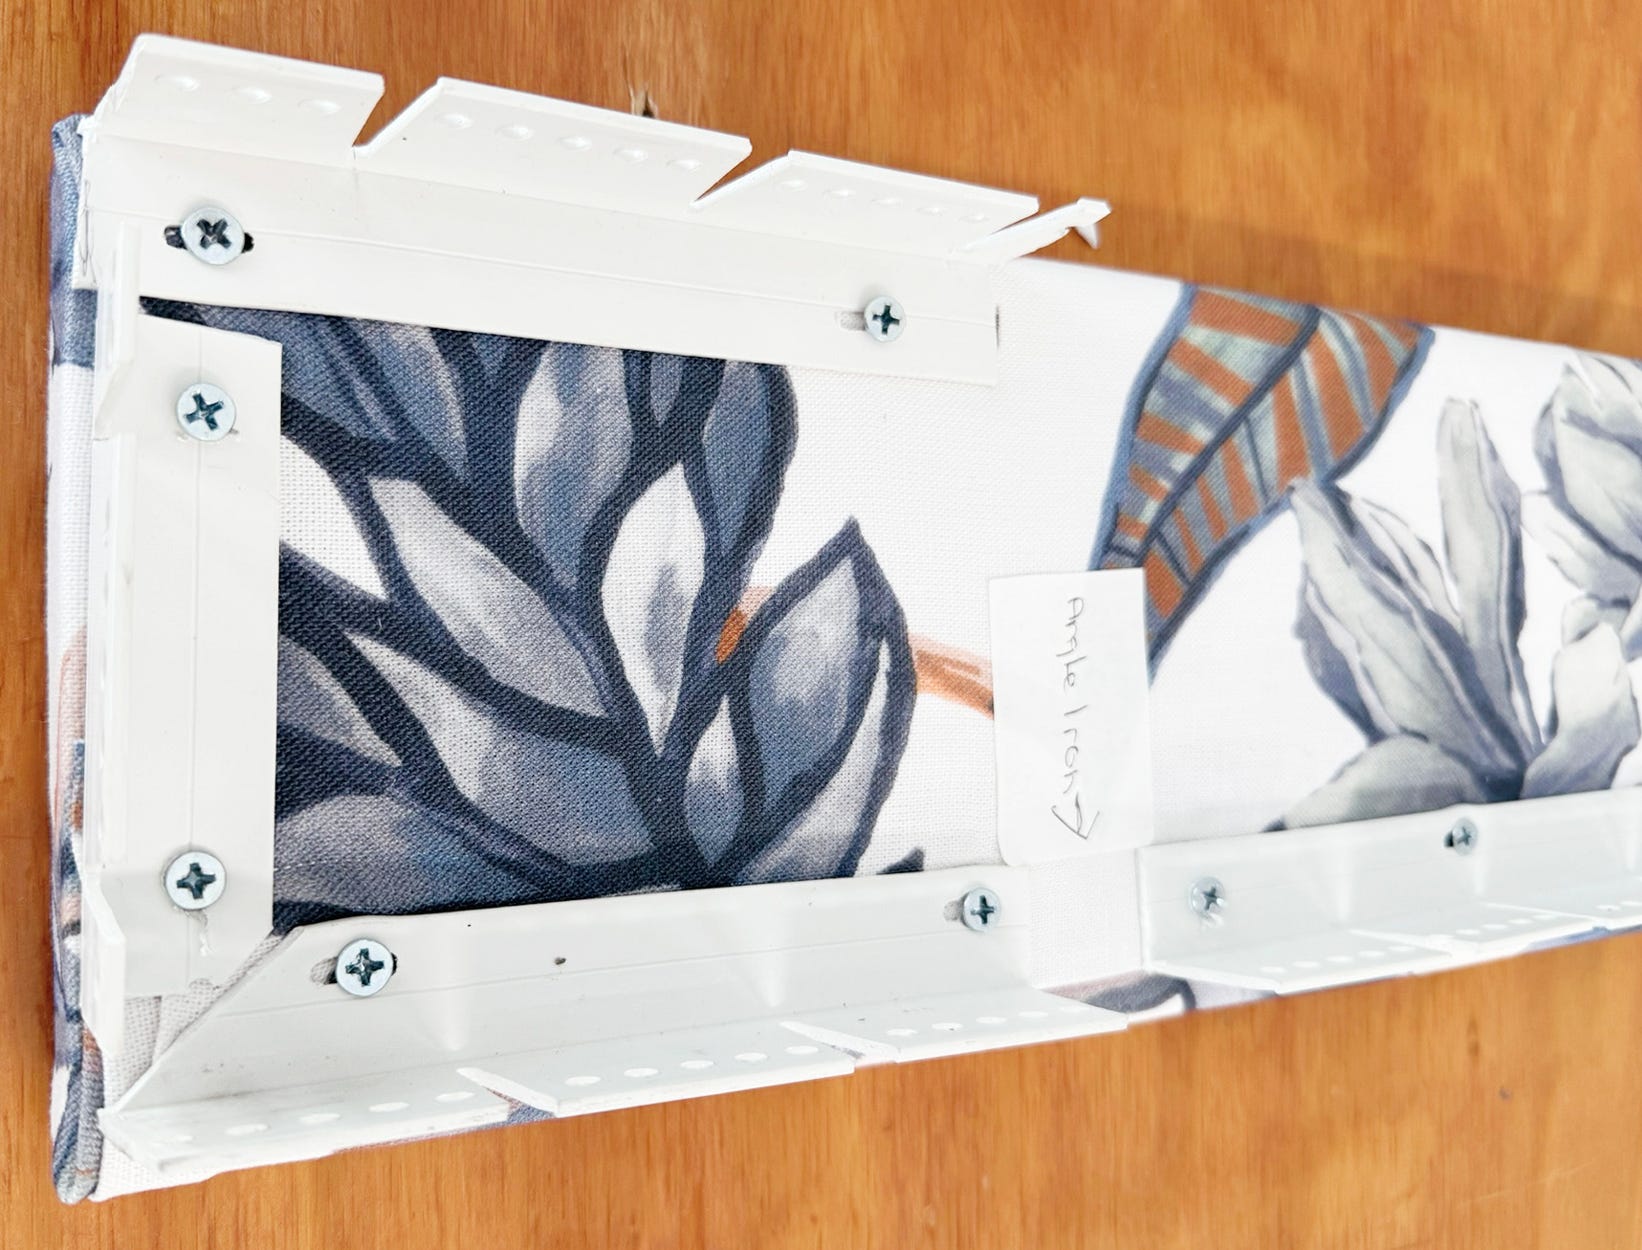
The bed valance board is a 1 x 10 with Right-Angle Hook Strip attached to the front and returns on the board. Sew-On Loop is stitched to the back of the bed valance along the top for ease of installation.


STEP 1
Cut the Fabric
The cut width of the fabric is equal to the width of the valance board + the size of the valance board returns + enough fabric to wrap around the inside of the returns.
STEP 2
Pattern Match
Pattern match the widths of fabric and stitch.
STEP 3
Trim Excess Fabric
Remove excess fabric from the selvages. Remove excess fabric width if necessary.
STEP 4
Determine Proper Pattern Placement
This large repeat patterned fabric was tricky to work with.
The horizontal repeat is 53" wide, with a vertical repeat of 29".
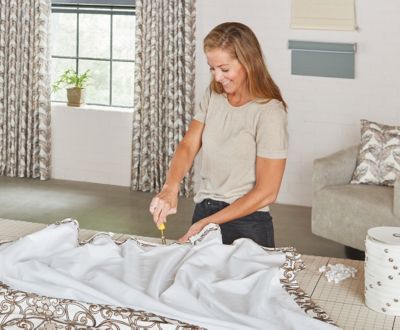
Place the seamed fabric on the table. Place long rulers on the fabric to find a pattern placement that is pleasing to the eye. For this project, the large orange flowers were centered throughout the design. Stand back, take a photo, and look at the photo. If adjustments need to be made, repeat the process until you’re happy with the fabric design and pattern placement.
STEP 5
Calculate Fabric Needs
Calculate the fabric needed for the valance returns and side hems. Using a Pen Style Chalk Marker mark the fabric and remove excess fabric width if necessary.
NOTE: For this pattern placement, there ended up being only one seam, and it was off centered, which is not typical use in custom fabrication.
STEP 7
Place Lining
Place the face fabric on the table, right side up. The bottom of the fabric should be along one long side of the table. Place the lining face down on the face fabric, matching the bottom of the fabrics.
STEP 8
Stitch Bottom Seam
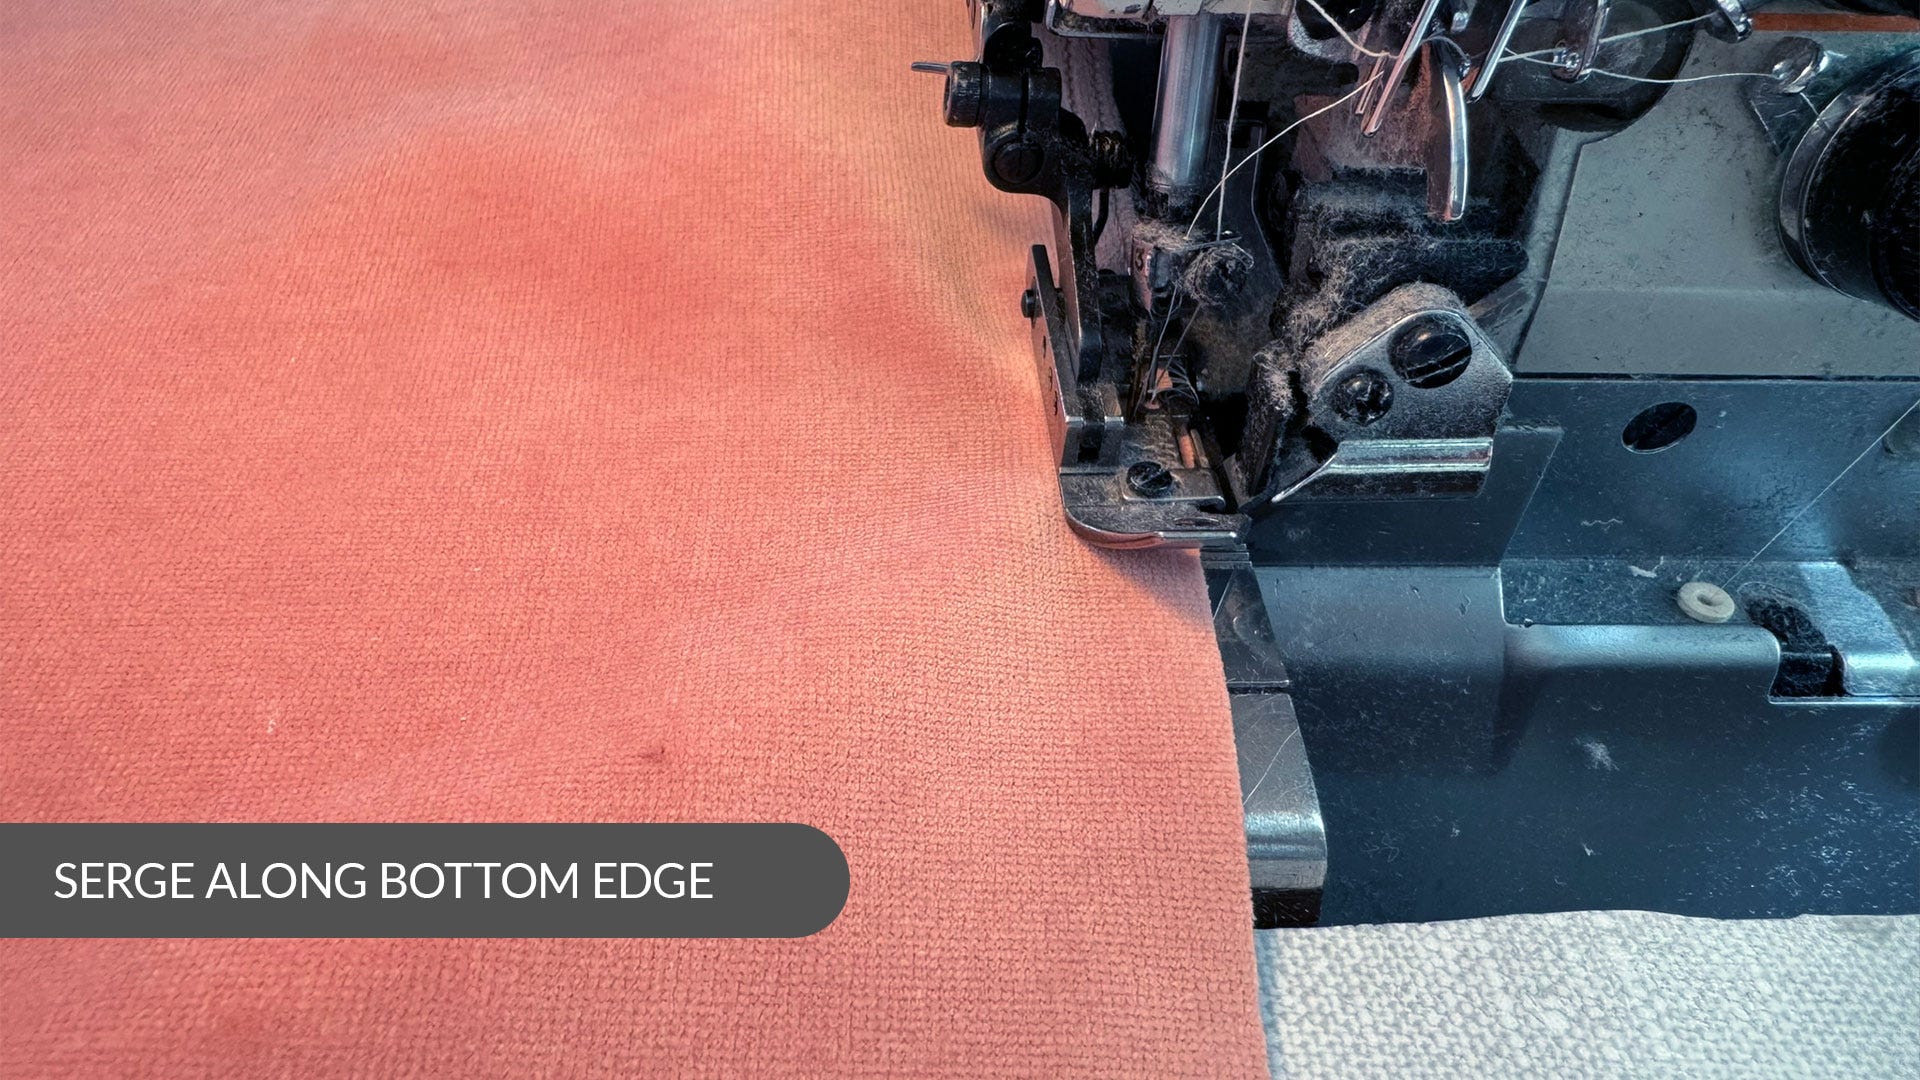
Pin and stitch the bottom seam of the bed valance.
STEP 9
Press the Seam Open
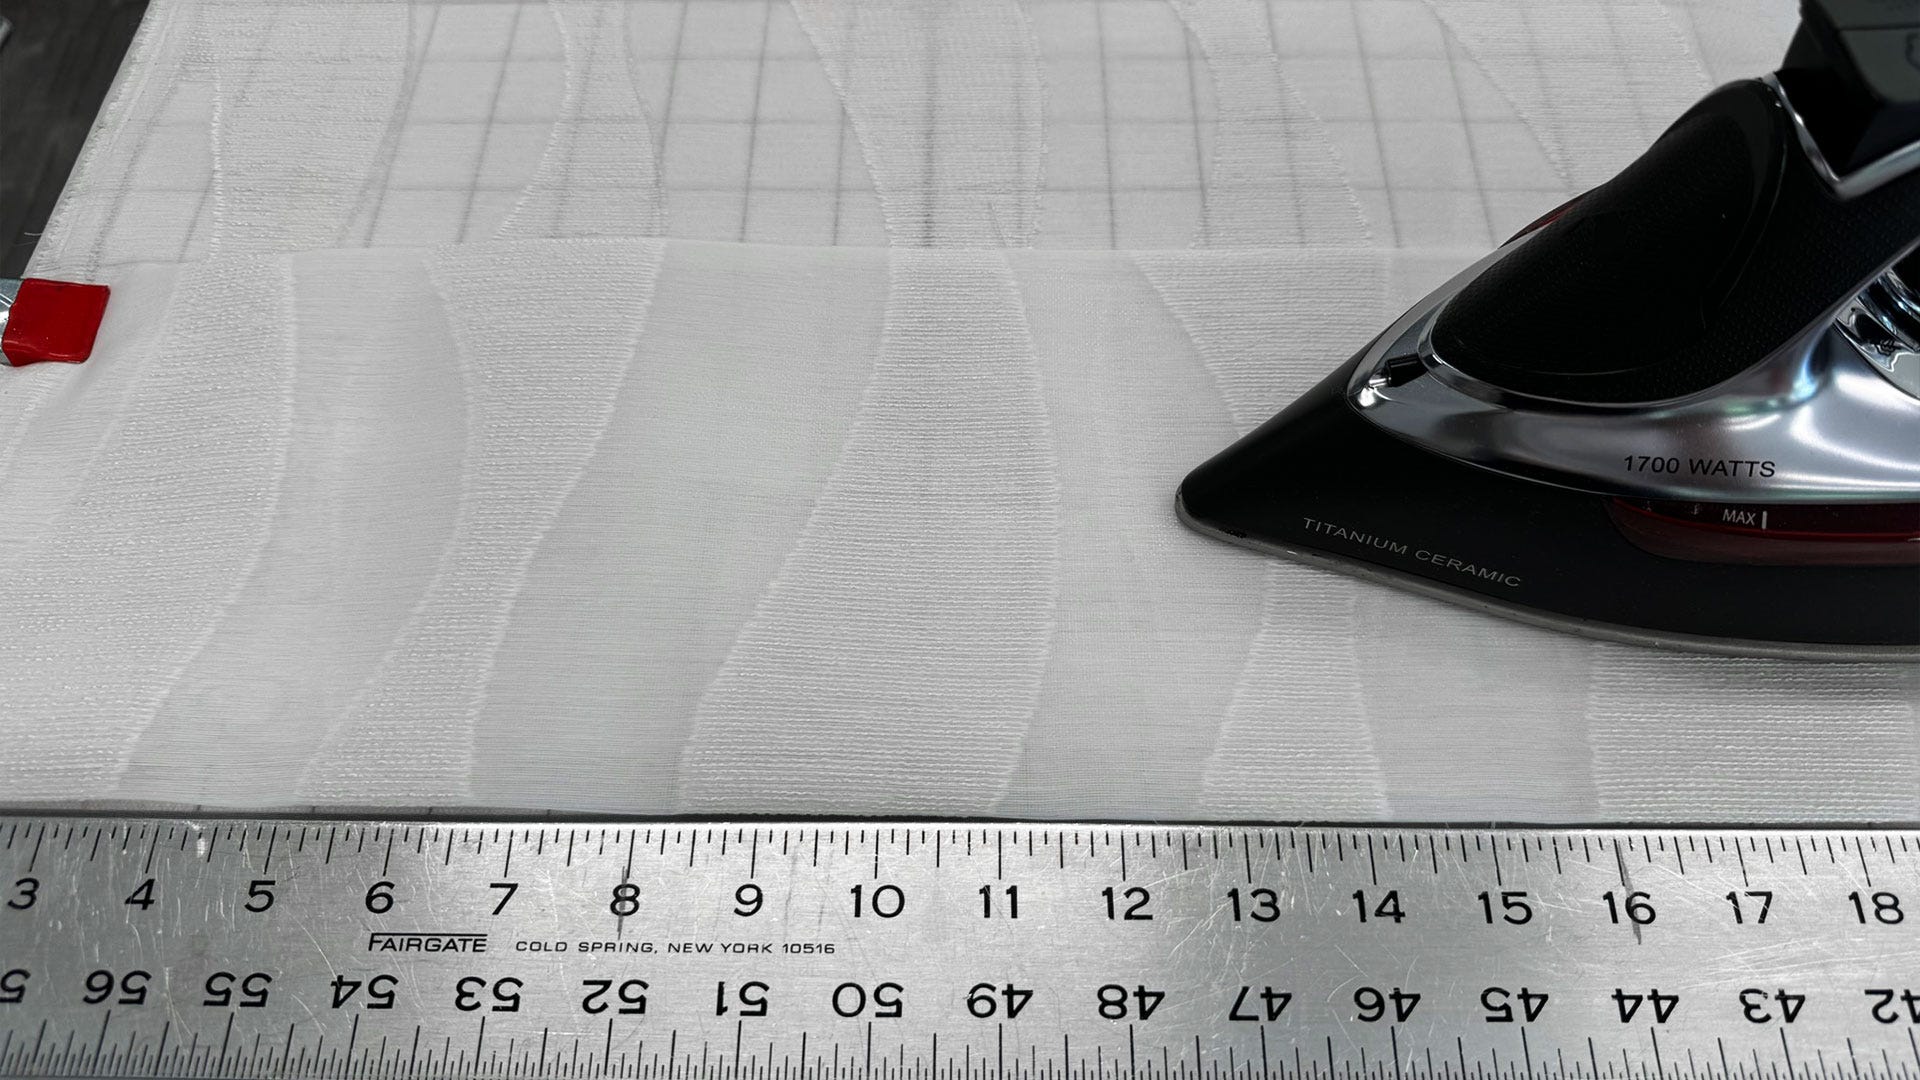
Open up the fabric and lay it out on the table to expose the bottom seam. Press the seam open for a better crease when pressing the bottom seam closed.
STEP 10
Press Bottom Seam Closed
Turn the face fabric and lining right sides out.
NOTE: Clamp the ends of the fabric to the table on both ends to keep it in place when smoothing.
Smooth the face fabric down on the table, then the lining on top.
TIP: Use a long ruler to help reach across the table and smooth fabric.
STEP 11
Add Shirring Tape
Mark for the Shirring Tape on the back of the valance. Pin in place through to the face fabric.
Stitch the shirring tape to the valance taking care to not stitch over the string in the center of the tape.
NOTE: If using a solid color fabric, select a color-match thread.
STEP 12
Press & Close Side Hems
Press the side hems and close using your method of choice.
STEP 13
Finish Top
Press 1 ½" to the back side along the top of the bed valance. Stitch a piece of Loop Tape across the top edge of the valance. A piece of Polyfoam Welt Cord is placed in the fold to create a nice finish. After stitching the top edge, remove excess fabric from the header and secure the bottom edge of the loop tape with Fringe Adhesive, or other closure method of choice.
STEP 14
Adjust Length
Pull the cord(s) in the Shirring Tape to create the desired finished length of the valance.


STEP 15
Add Trim
Attach trim, if using, along the bottom edge of the bed valance with Fringe Adhesive.
STEP 16
Cover Mounting Board & Attach Valance
Cover the mounting board with lining. Attach the Right-Angle Hook Strip to the mounting board. Attach the valance to the right-angle hook strip on the valance board.
Planning
The bed drapery is made in three separate sections, allowing the center portion to fall behind the headboard without having to have a cut out for the area where the headboard attaches to the wall.
The two outer sections are made full-length. This saves on fabric yardage, plus makes the fabrication and installation easier and more efficient.
The bed drapery is mounted on a 1 x 6 board using Right-Angle Pin Strip for easy installation.


CENTER PANEL
To determine the Finished Length (FL) of the portion in the center, you must know where the headboard will be attached to the wall. The drapery should be short enough to end above this point.


STEP 1
Cut the Fabric
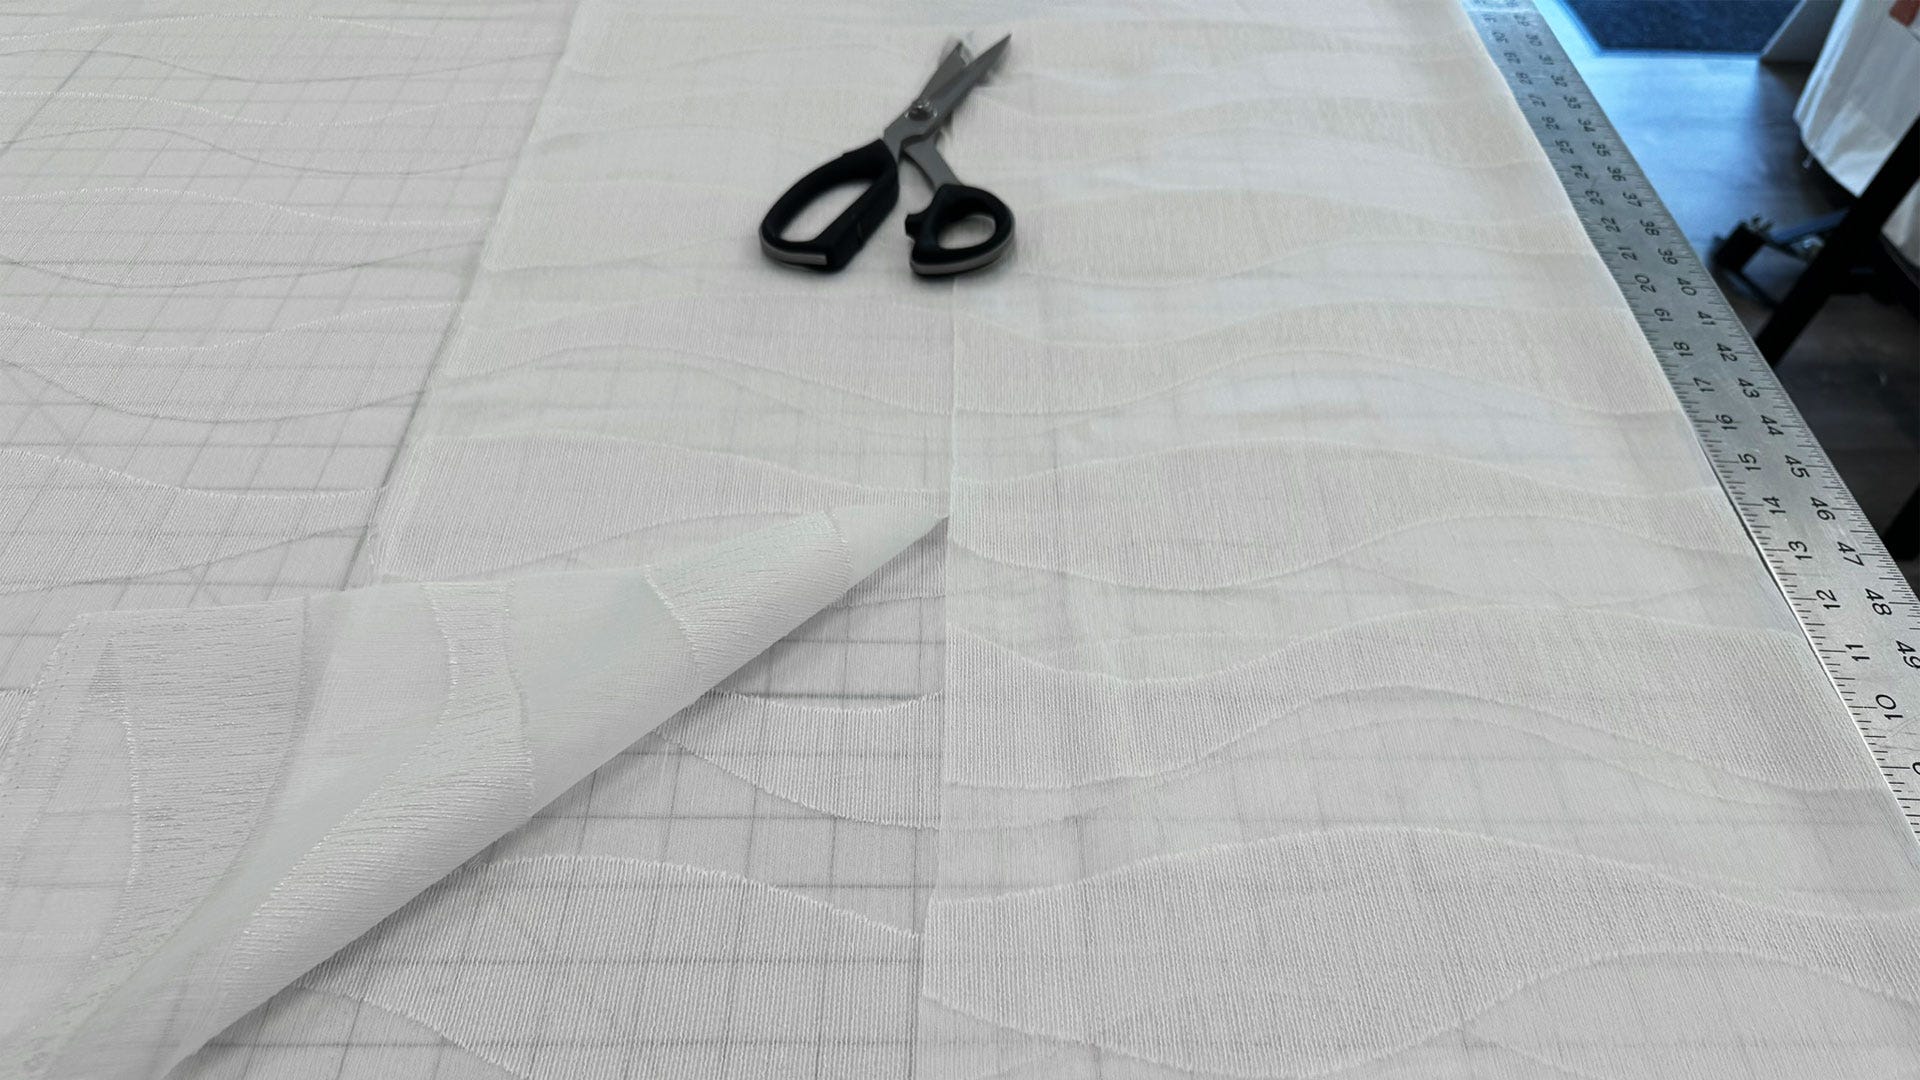
Cut the fabric and seam together if necessary.
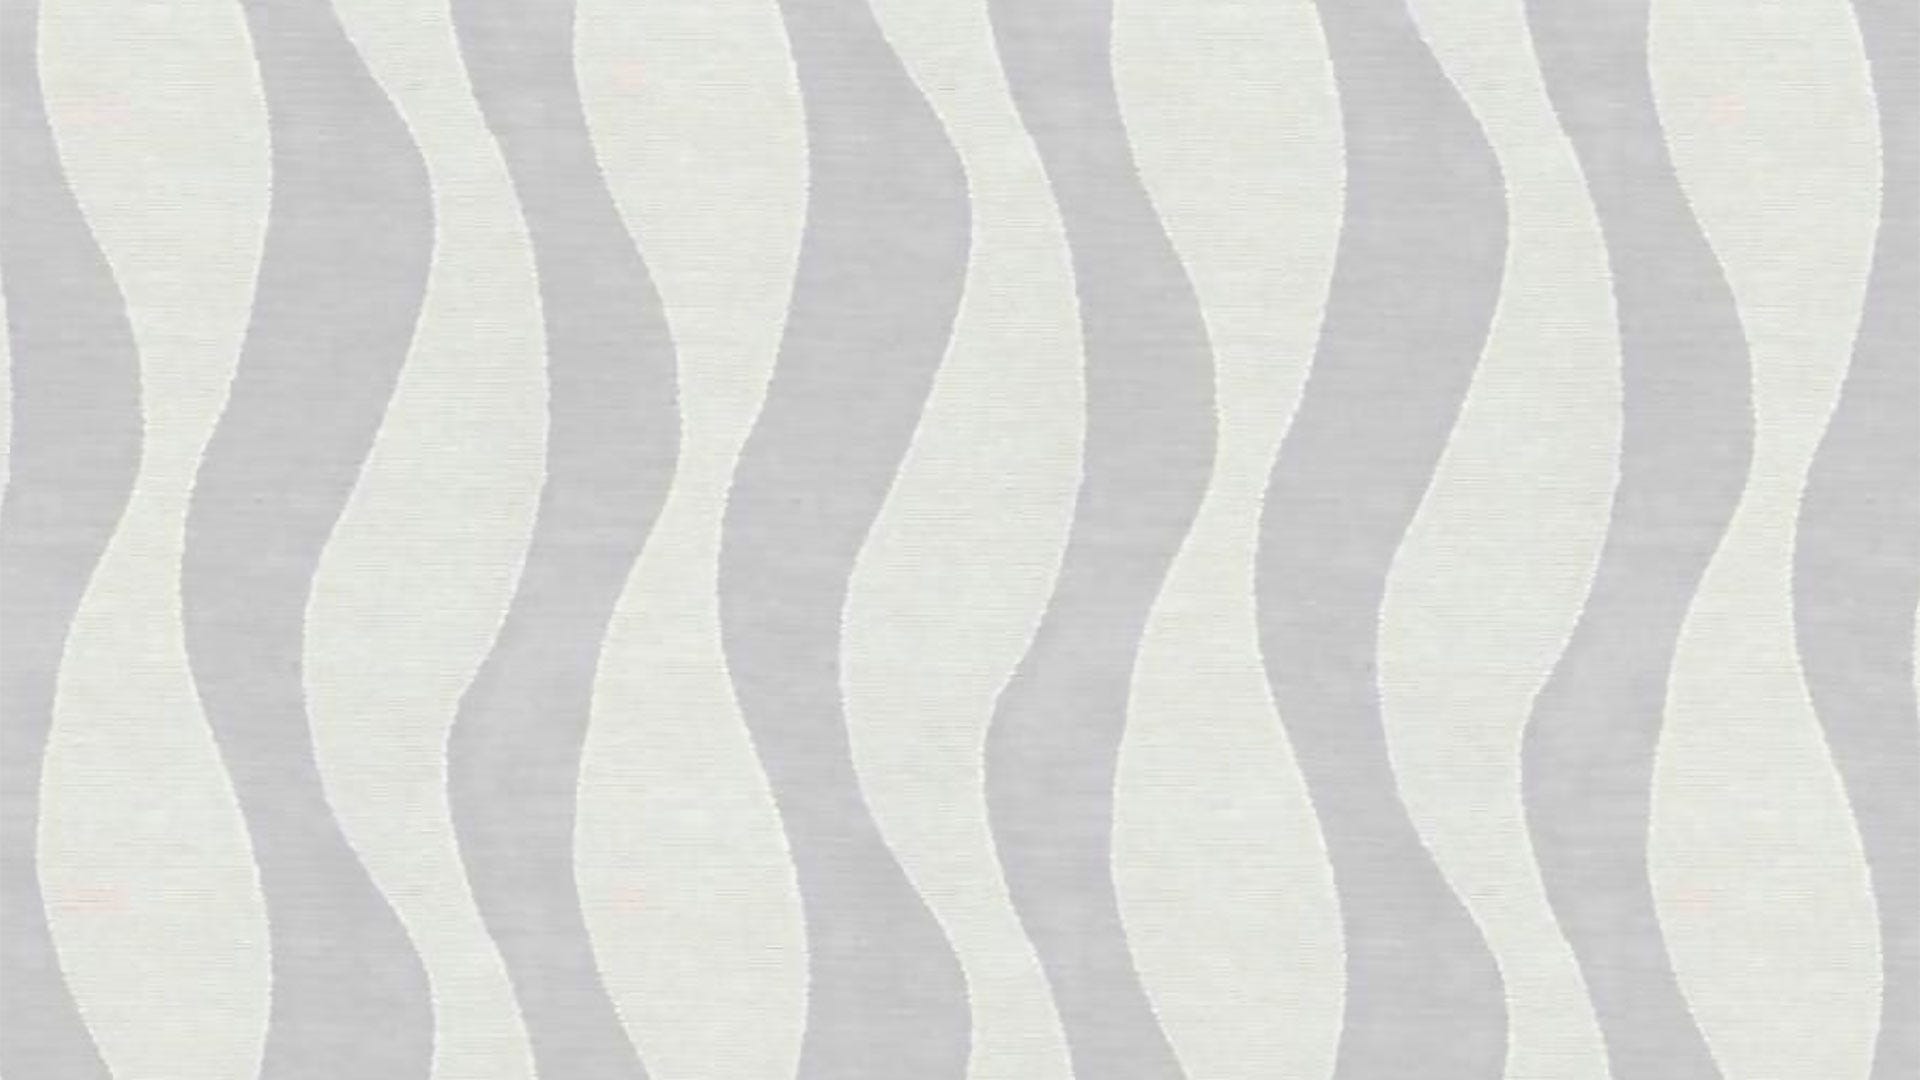
Cut the lining and seam if necessary. We used double-width lining, so we did not have to seam the lining.

STEP 2
Attach Lining
Place the face fabric on the table, right side up, and the lining on the table right side down, matching the bottom of the fabric and lining. Pin. Stitch the bottom edge of the panel (This is going to be behind the headboard, so a typical drapery hem is not necessary).
STEP 3
Press Seam
Turn the panel right side out and press the bottom seam.

STEP 4
Add Buckram
Press the top of the panel to allow for a single turn over 4" Buckram. Bring the lining up and fold it to the inside. Pin the top of the header to hold together.
STEP 5
Press & Close Hems
Press and close the side hems using your method of choice.

STEP 6
Plan Pleats
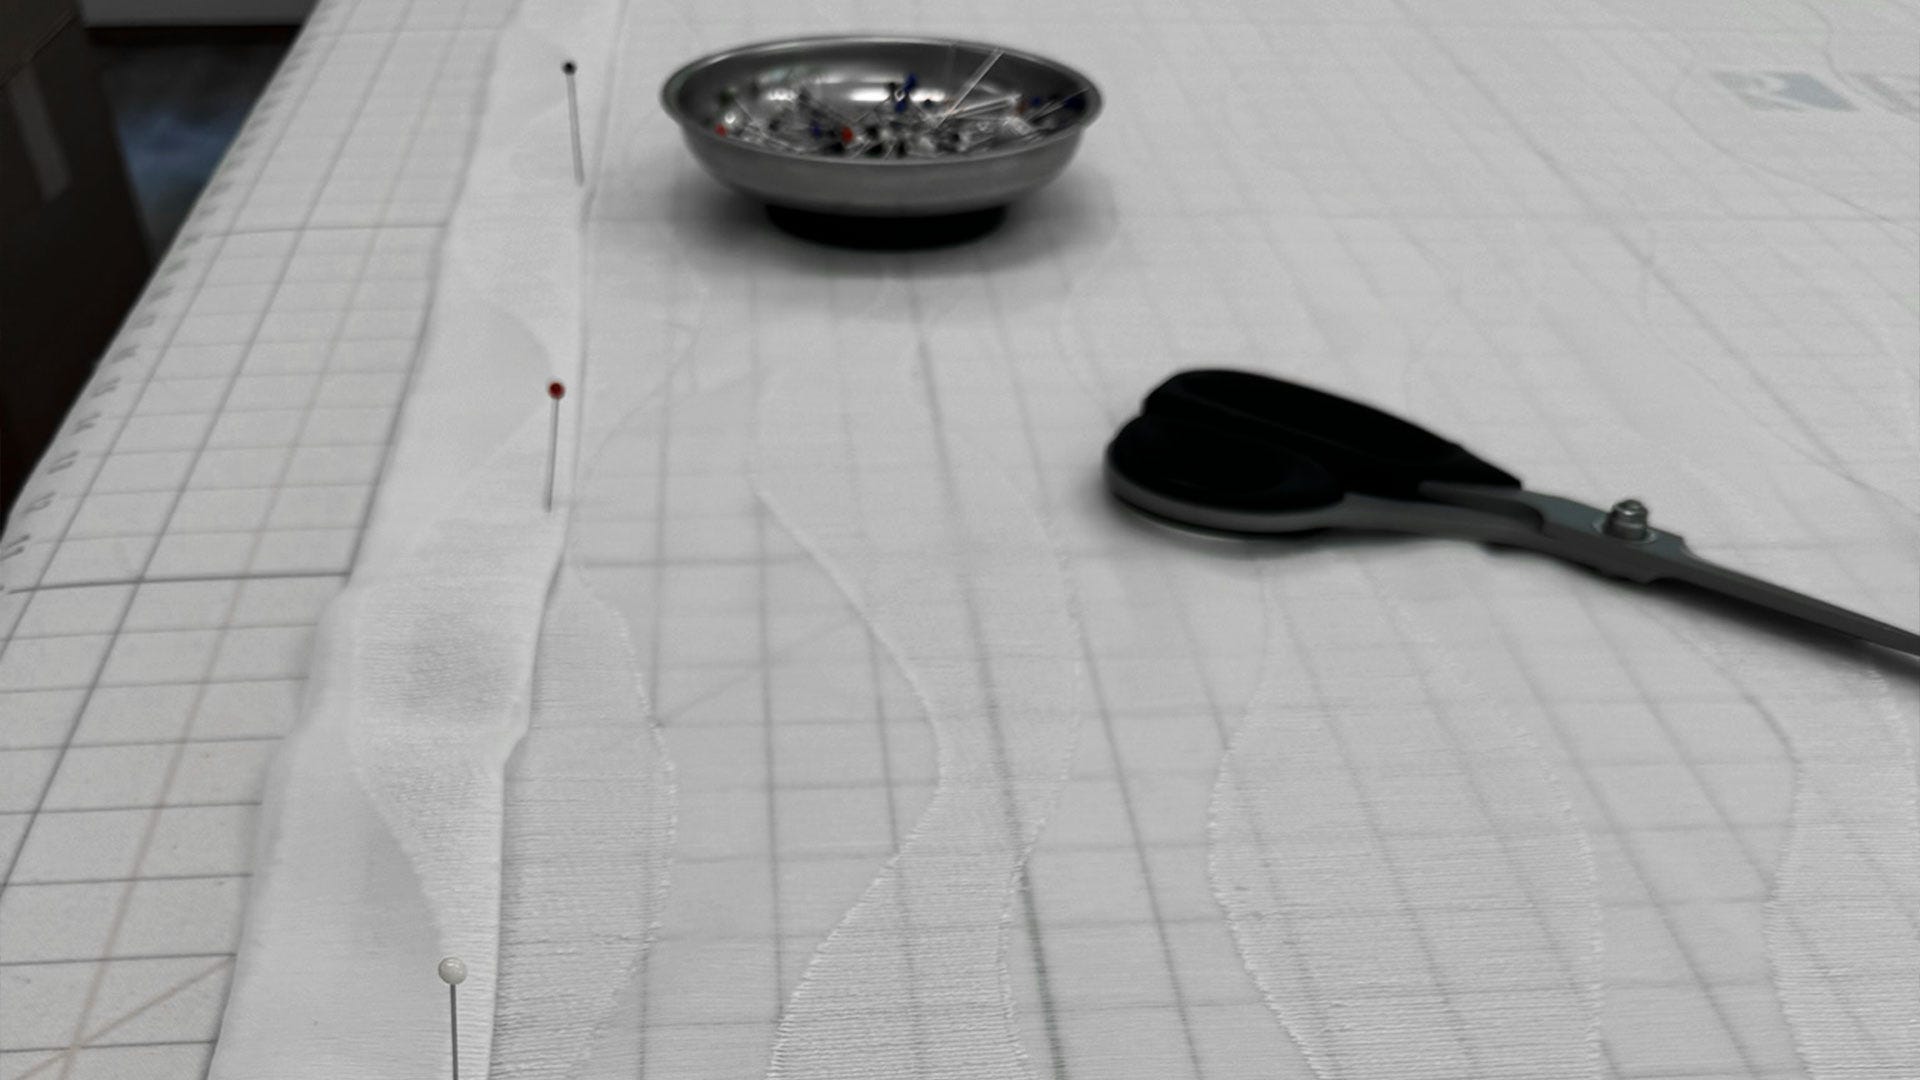
Measure the header and determine the pleats and spaces. Pin.
STEP 7
Stitch Pleats
Stitch the pleats. Placing a magnet or piece of tape on the bed of the sewing machine as a guide makes sewing the pleats quick and efficient.


STEP 8
Add Fan Folds
Fan fold the center bed drapery panel.
OUTER PANELS
The two outer panels will be a mirror image of one another, so one left panel and one right panel. The panels are made using two fabrics, the fabric matching the center panel, and a print fabric as the leading edge of the panels. The panels are floor-length and are made wide enough to extend beyond the bed on either side.
STEP 1
Repeat Steps
Follow the steps for the Center Panel to make the outer panels once the two contrasting fabrics have been joined together.


STEP 2
Add Two-Finger Pleats
Mark the pleats and then stitch the two-finger pleats. At this time, stitch the center panel's two-finger pleats also.
BED DRAPERY BOARD
The bed drapery is mounted on a 1 x 6 board using Right-Angle Pin Strip for easy installation.


STEP 1
Cover Board with Fabric
The board is covered with the floral fabric.
STEP 2
Prep Board
Attach the Right-Angle Pin Strip along the back of the board, the sides of the board, and a portion along the front of the board.
TIP: The board attaches to the wall with Angle Irons. Leave a space in the right-angle pin strip for the placement of the angle irons.


