


Recorded Webinars


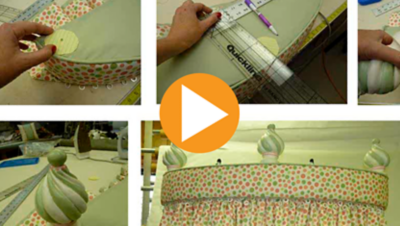
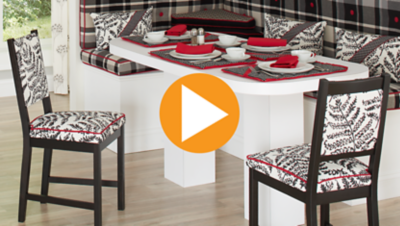
In this webinar, you will learn:
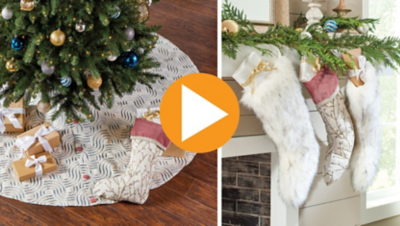
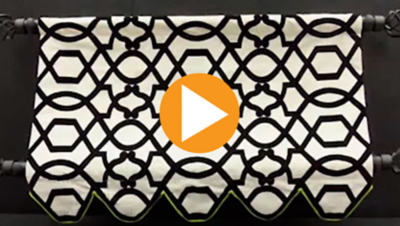
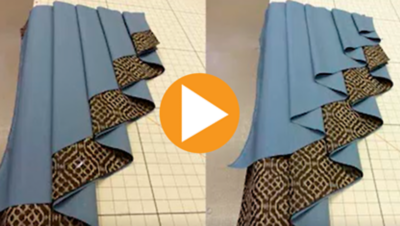
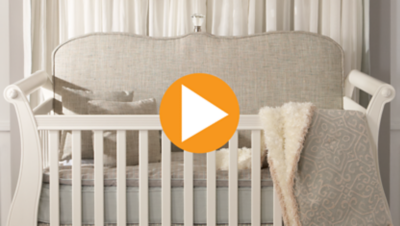
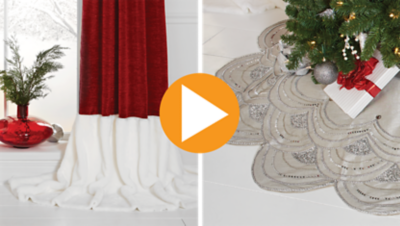
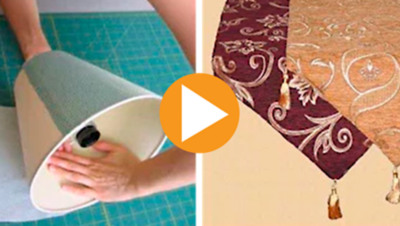
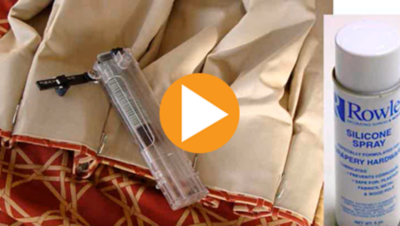
- Tips for figuring the finished size for a holiday tree skirt
- How to make a tree skirt with a beautiful closure method
- How to make two styles of stockings to be hung by the fireplace
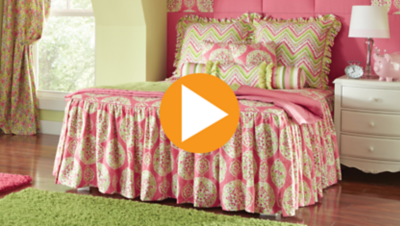
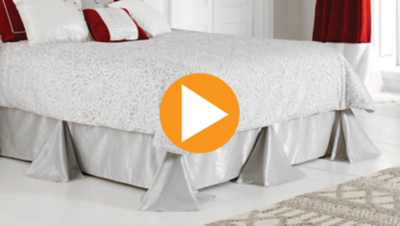
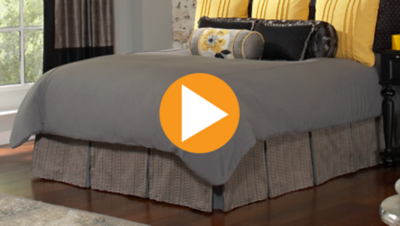
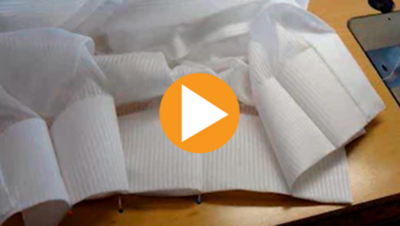
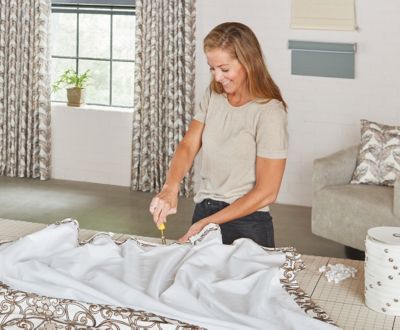
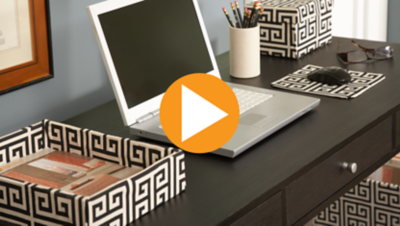
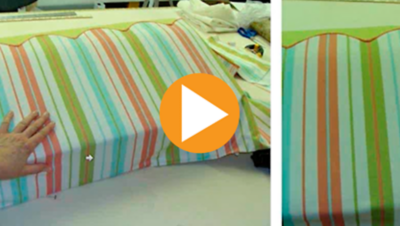
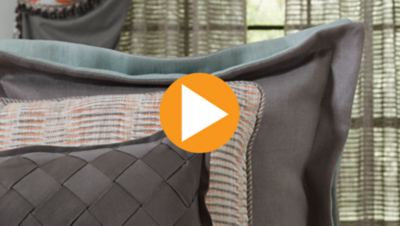
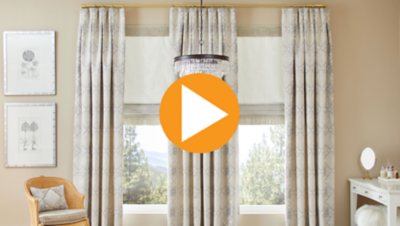
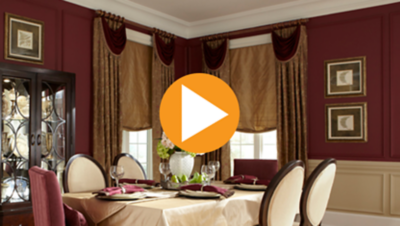
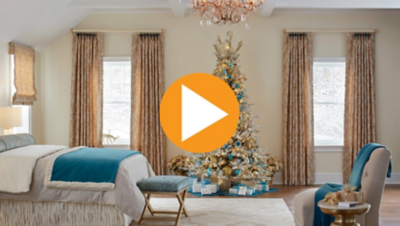
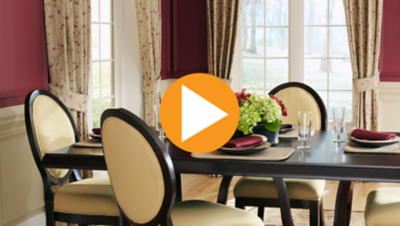
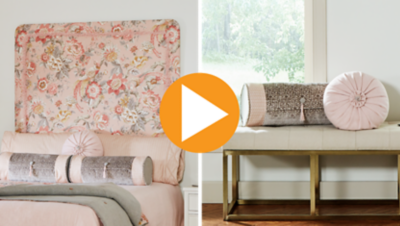
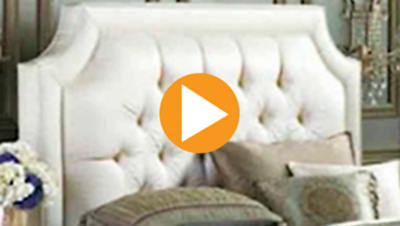
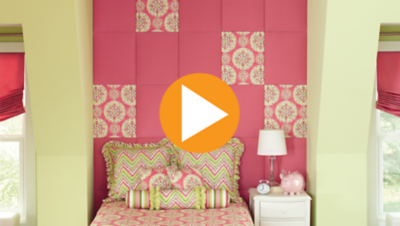
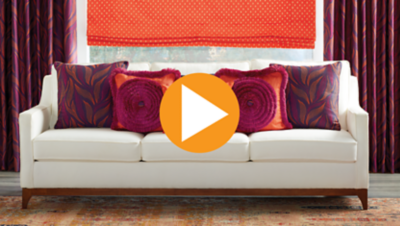
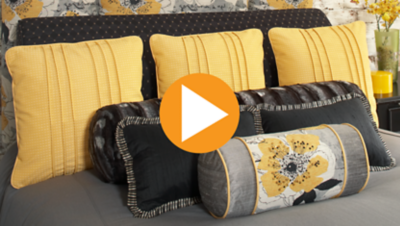
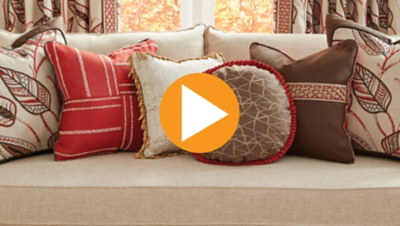
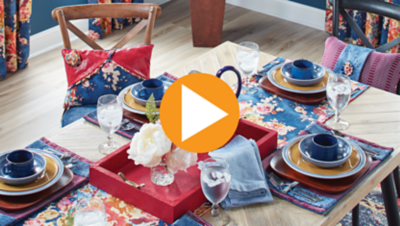
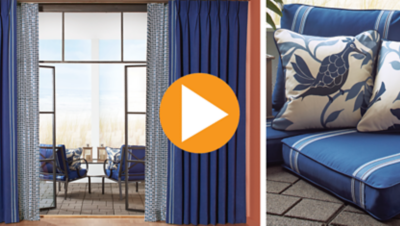
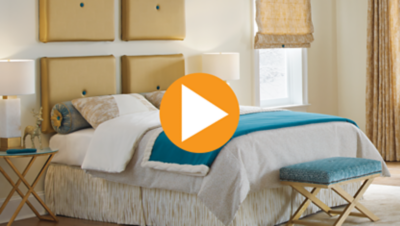
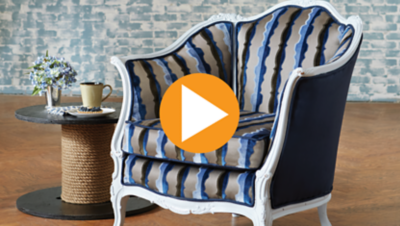
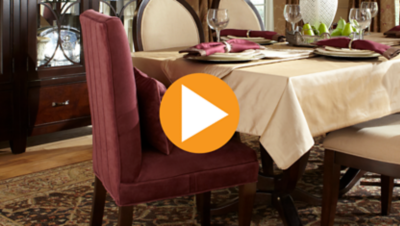
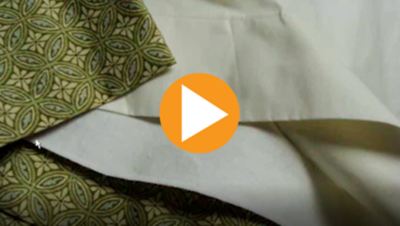
As part of our Holiday Greetings Roomscape, Fabrication Expert, Donna Cash demonstrates how to create a seamless and inviting bedding ensemble for your clients. The ensemble includes a luxurious bed skirt, a cozy duvet, a stylish throw, and a decorative bolster pillow. In this video Donna will show you how to make a basic duvet cover with an invisible zipper, a bed skirt with overlays, a throw crafted with challenging fabrics, and a bolster pillow with a contrast welt and a fun flower embellishment.


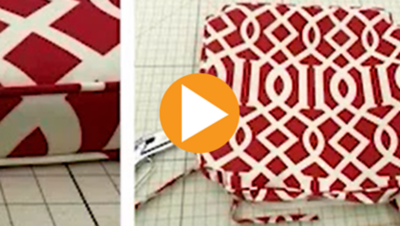
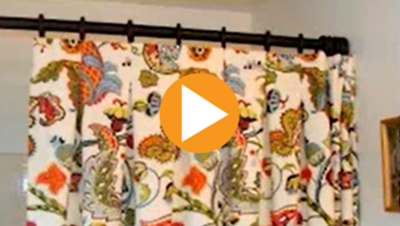
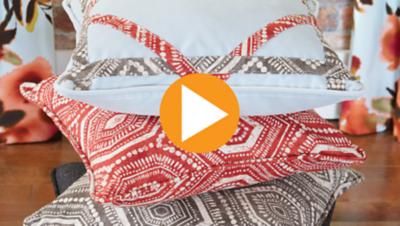
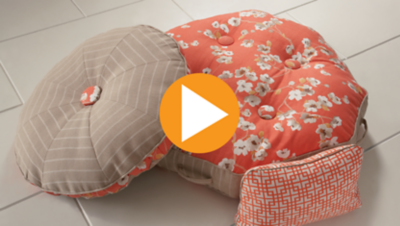
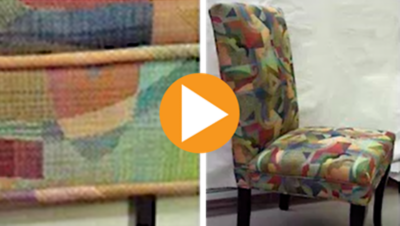
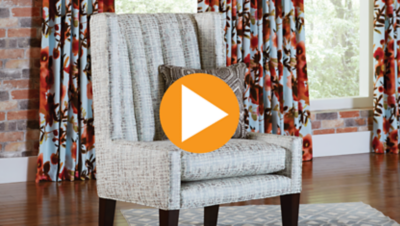
In this webinar, you will learn:
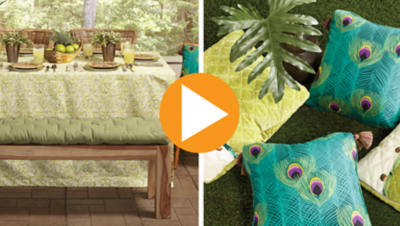
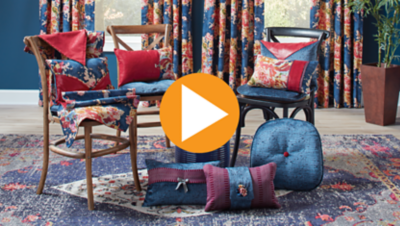
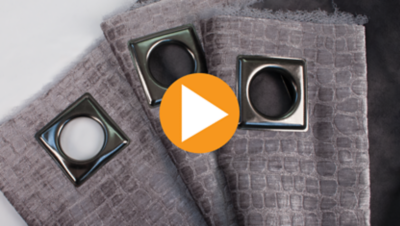
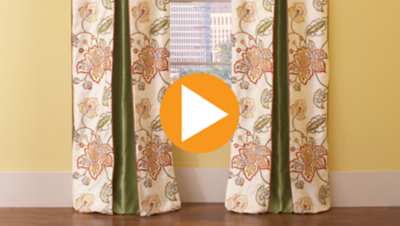
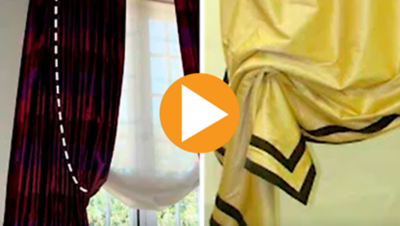
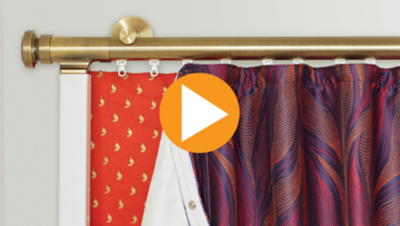
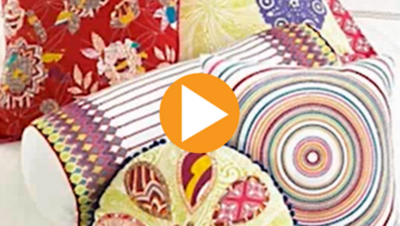
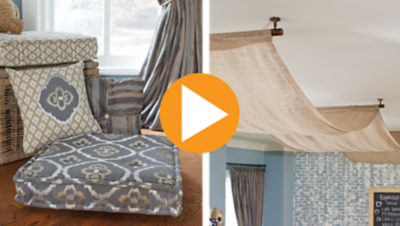
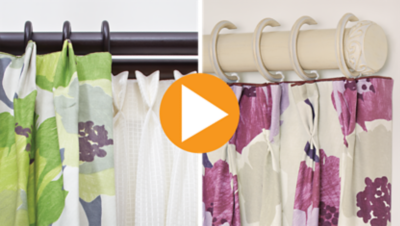
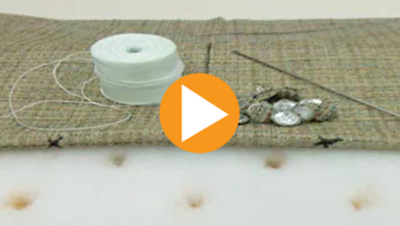
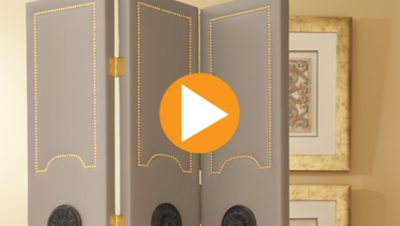
- How to make interchangeable leading-edge panels
- A unique way to make a buttonhole without a lot of fuss
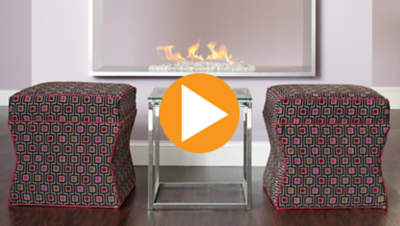
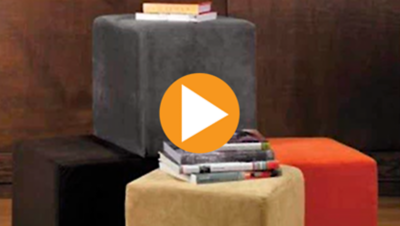
- Creative ways to design and fabricate two styles of floor pillows
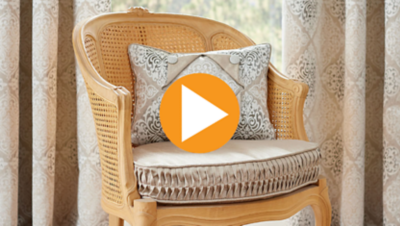
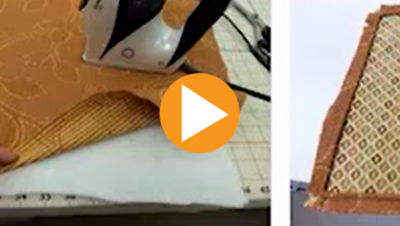
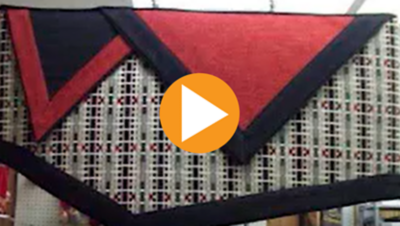
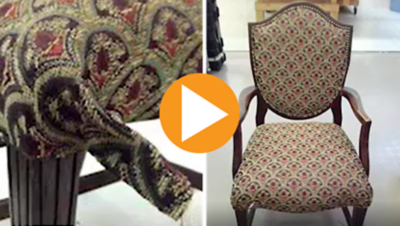
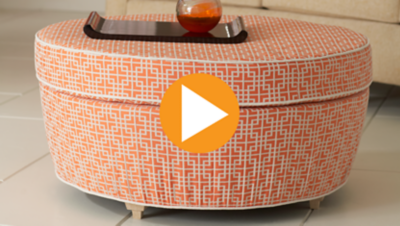
In this webinar, you will learn:
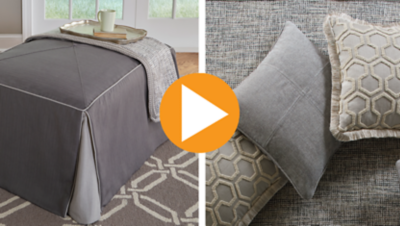
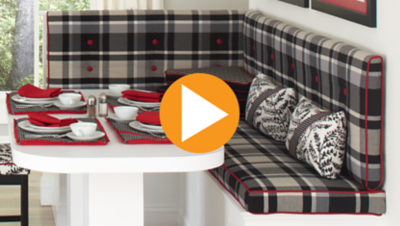
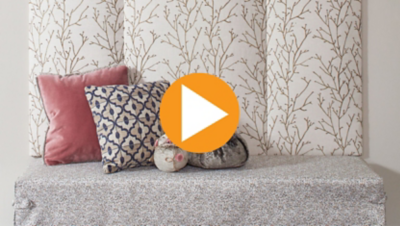
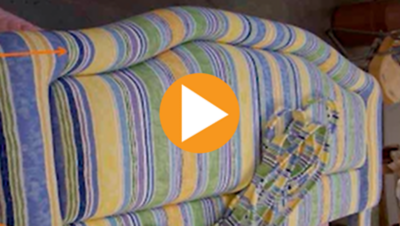
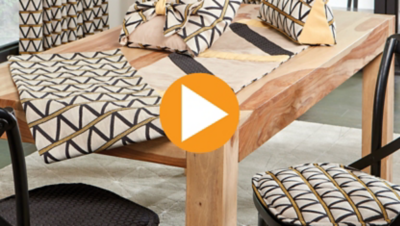
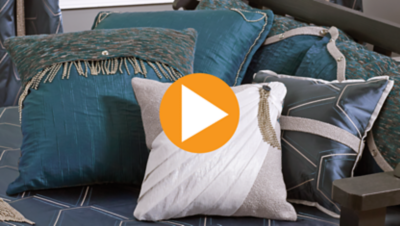
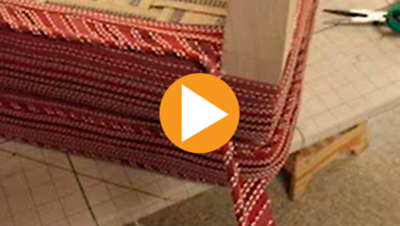
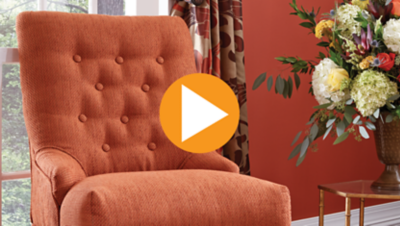
- How to make an upholstered bench back
- A simple way to make a slipcover for a bench
- Throw pillows with unique detailing
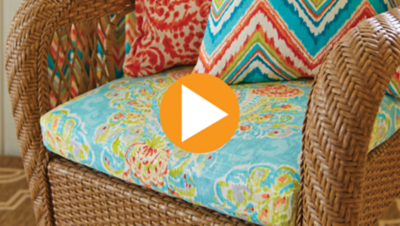
In this webinar, you will learn:
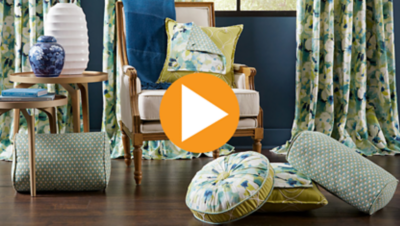
- How to make interchangeable leading-edge panels
- A unique way to make a buttonhole without a lot of fuss
- Creative ways to design and fabricate two styles of floor pillows
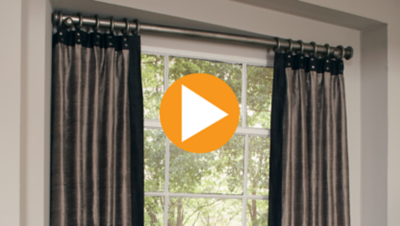


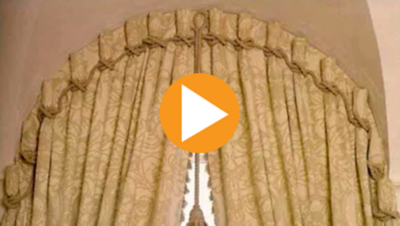
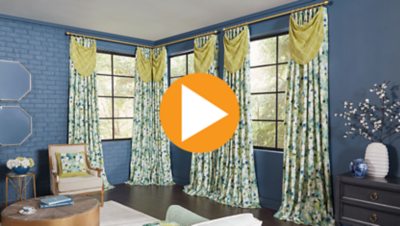
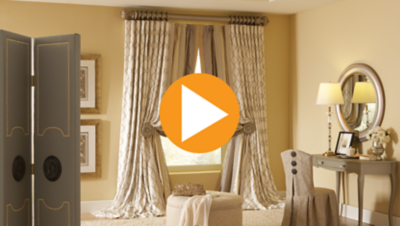
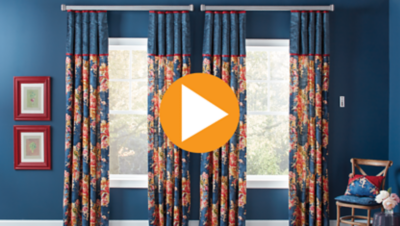
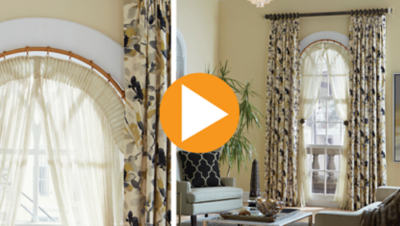
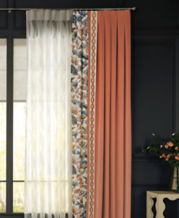
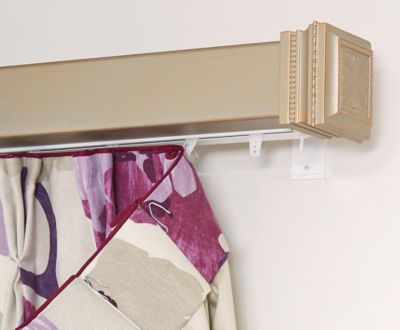
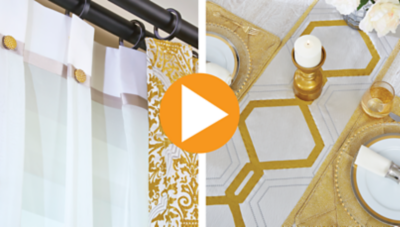
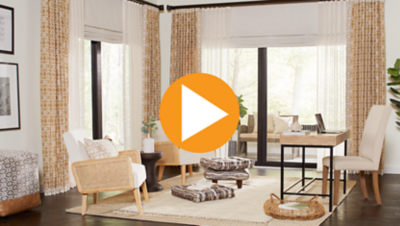
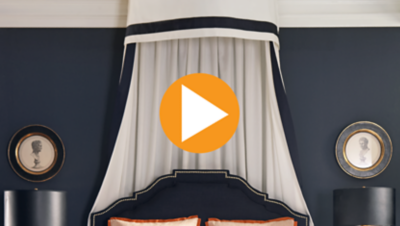
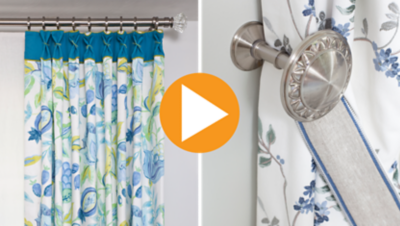
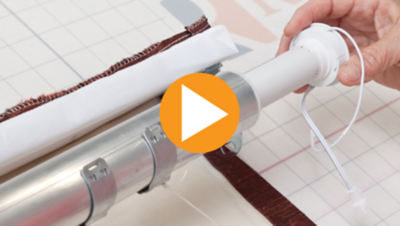
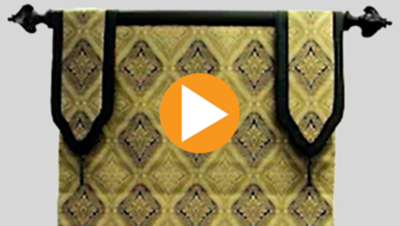
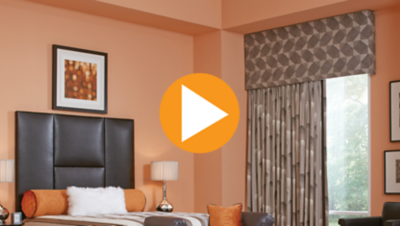
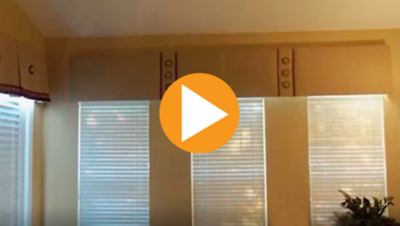
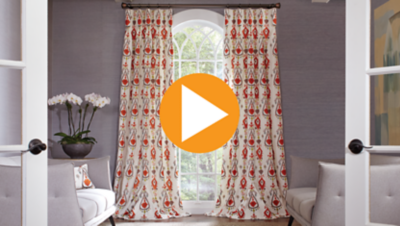
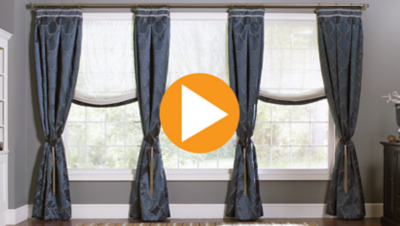
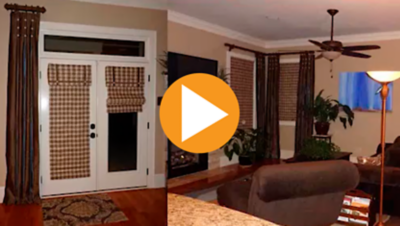
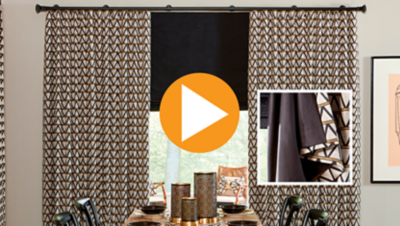
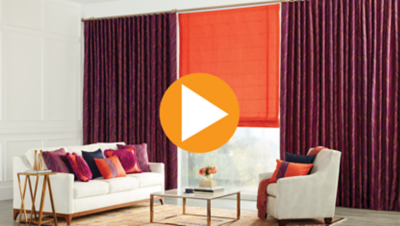
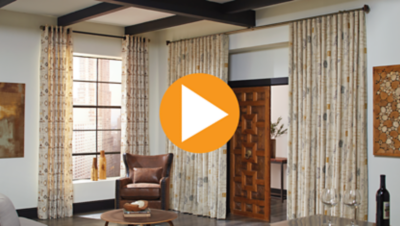
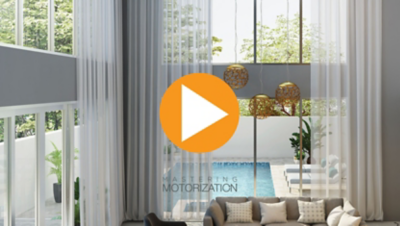
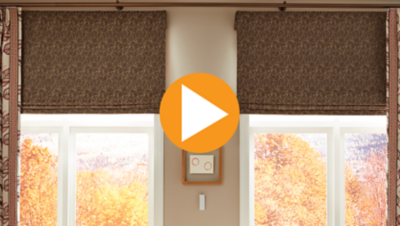
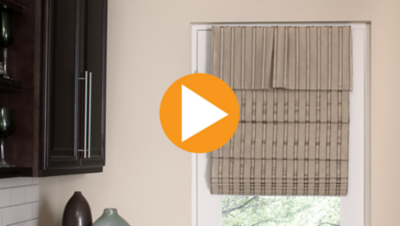
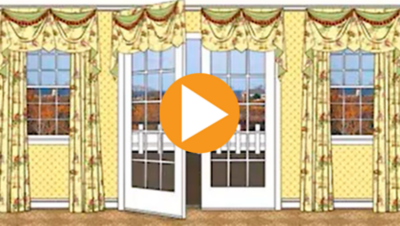
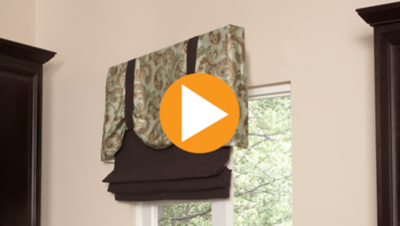
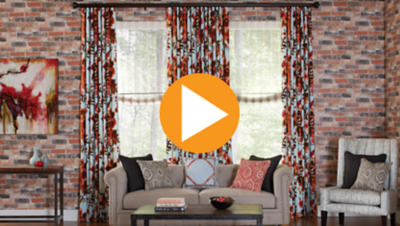
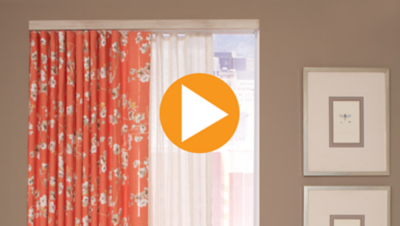
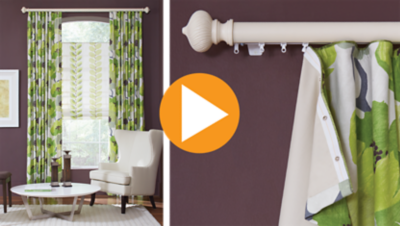
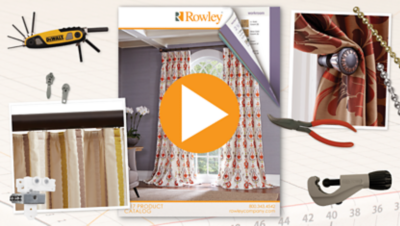
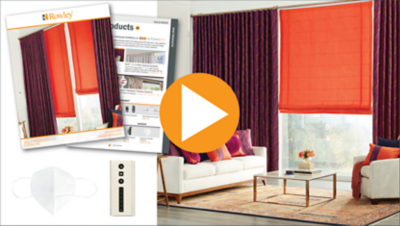
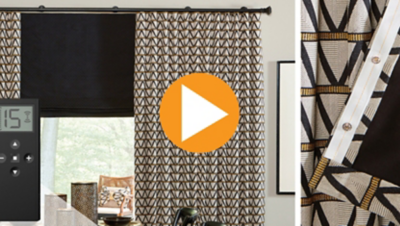
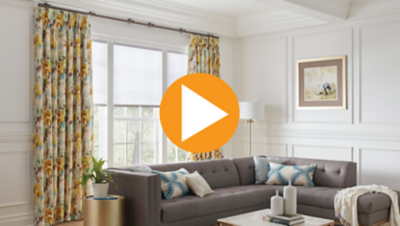
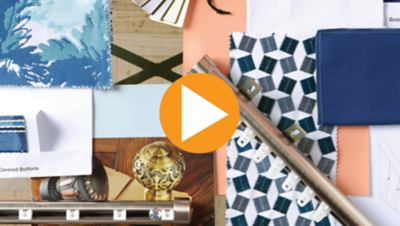
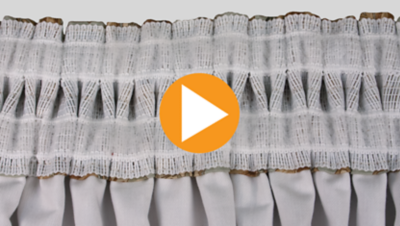
Elevate your client's window treatments to a new level of elegance and style. Transform their space with the exquisite touch of drapery panels and Roman shades, enhanced by the artistry of box pleat embellishments and eye-catching contrasting buttons. Watch as industry expert, Donna Cash designs and fabricates the window treatments shown in our Holiday Greetings Roomscape. In this video, Donna will show you how to create drapery panels with a box pleated leading edge embellishment with contrasting buttons, a Roman shade with floating ribs and assembles a motorized Roman shade headrail system.


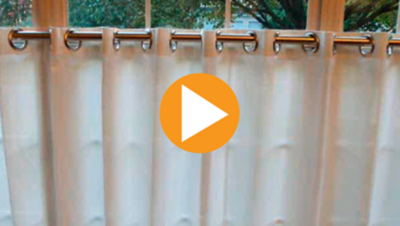
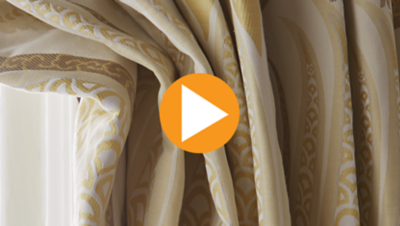
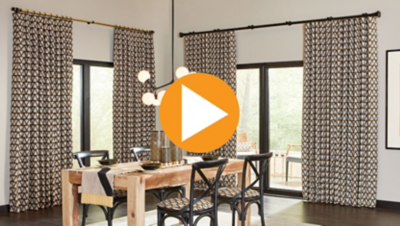
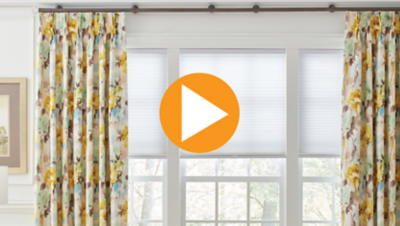
In this Whyte & Ivory Linings Webinar you will learn all about the Whyte & Ivory brand of British couture for your draperies, how to elevate your drapery treatments with eco-friendly linings, and tips for working with room darkening lining to prevent holes of light.
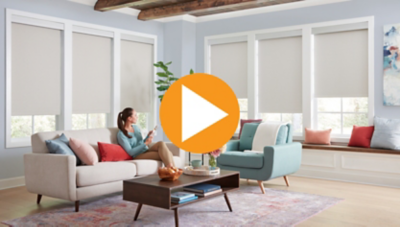
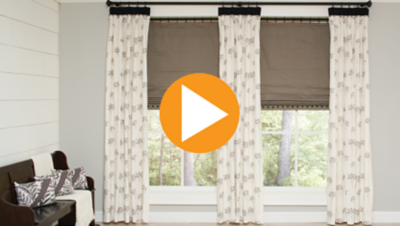
Learn about our new Elements® Shade Collection features and benefits, customized options to specify the perfect shade solutions, and how to purchase and tools available to sell the Elements® program to your customers.

“Entrepreneurship - Is it for You?” is part of our Exploring Entrepreneurship Series presented by window industry expert and entrepreneur Donna Cash. In this video, you will learn what it takes to be an entrepreneur, traits successful entrepreneurs have in common, and pros and cons of entrepreneurship.

“Tips for New Entrepreneurs” is part of our Exploring Entrepreneurship Series presented by window industry expert and entrepreneur Donna Cash. In this video, you will learn how having a strong mission is key to guiding your business decisions, having a positive mindset will take you beyond mistakes and failures to strengthen your business, and how understanding your passion will help you create a business you love working on each day.

“Education to Prepare for Entrepreneurship” is part of our Exploring Entrepreneurship Series presented by window industry expert and entrepreneur Donna Cash. In this video, Donna will share how to benefit by working with mentors and belonging to organizations. You'll also learn more about the importance of your Vision & Mission Statements and how to build a Business Plan.

“Your Roles in Business as an Entrepreneur” is part of our Exploring Entrepreneurship Series presented by window industry expert and entrepreneur Donna Cash. In this video, Donna Cash will discuss the roles of the entrepreneur, the manager, the technician, how to deal with growing pains, and what to do before hiring your team.
“Setting Your Business Up for Success” is part of our Exploring Entrepreneurship Series presented by window industry expert and entrepreneur Donna Cash. In this video, Donna will share tips for finding vendors to work with, how to go about securing business funding, and other professionals you'll need as part of your team.

“Focus on Sales” is part of our Exploring Entrepreneurship Series presented by window industry expert and entrepreneur Donna Cash. In this video, Donna will share why knowing who you are selling to and how your products and services benefit your customers is an important part of sales. She will also help you gain confidence in working with difficult personalities and understand when to say 'no'.

“Clear Your Head to Manage Stress” is part of our Exploring Entrepreneurship Series presented by window industry expert and entrepreneur Donna Cash. In this video, Donna Cash will share the benefits of going slow to reap greater benefits. Even a five to ten minute break can reenergize your internal batteries and help you regain mental focus, which will in turn help your business move towards your goals.

“Recap and Encouragement” is part of our Exploring Entrepreneurship Series presented by window industry expert and entrepreneur Donna Cash. In this recap video, Donna will leave you with her top five tips to create a successful business you are truly passionate about.


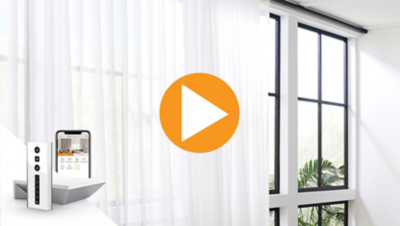
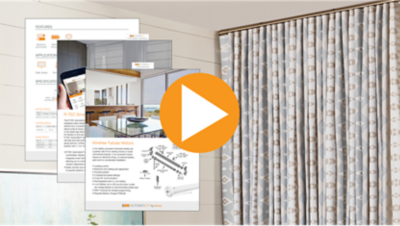
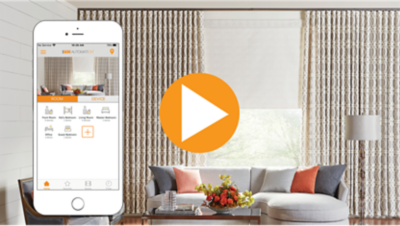
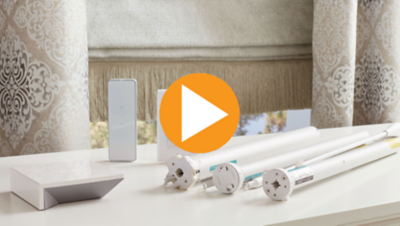
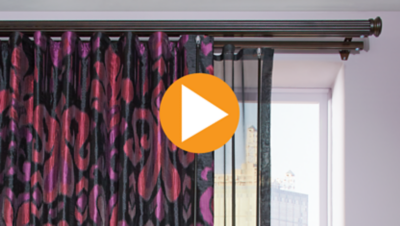
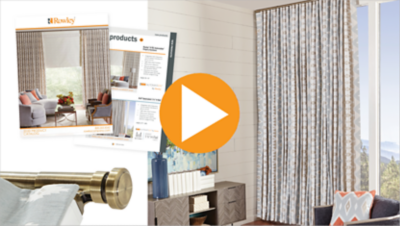
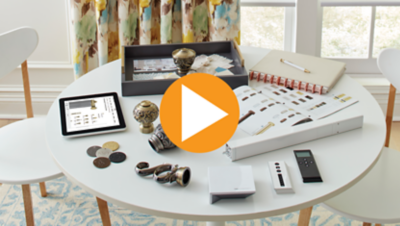
Join window automation expert Donna Cash to learn how to use the R-TEC Automation® Sales Kit to gain confidence selling R-TEC Automated drapery systems and how to use the Drapery Data Book as your go-to source for sales, product specifications, and installation.
How To Order R-TEC Automation® Drapery Hardware Systems
Table of Contents:
0:00:05 | Intro - How To Order R-TEC Automated Track Systems
0:00:45 | Step 1 - Select the System
0:01:19 | Step 2 - Select the Track Color
0:01:49 | Step 3 - Select the Motor Power
0:02:30 | Step 4 - Select the Drapery Style, Draw & Master Carrier
0:03:56 | Step 5 - Select the R-TEC Smart Controls
0:04:55 | Intro - How To Order Automated 1 3/8" H-Rail
0:05:40 | Step 1 - Select Kit Style
0:06:30 | Step 2 - Select the Kit Finish
0:06:57 | Step 3 - Select the Select the Motor Power
0:07:44 | Step 4 - Select the Drapery Style, Draw & Master Carrier
0:08:56 | Step 5 - Select R-TEC Smart Controls
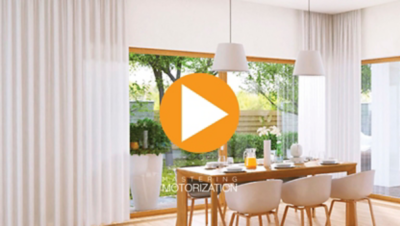
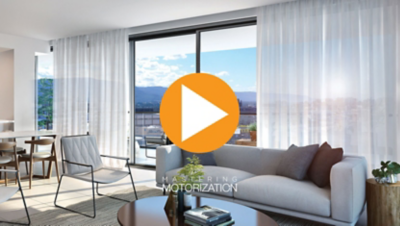
View the Mastering Motorization Series
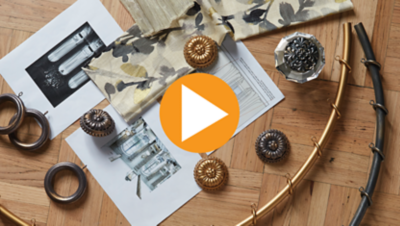
Components & Add-Ons in R-TEC Automation® Drapery Hardware Systems
Table of Contents:
0:00:05 | Intro - R-TEC Automation® Track System Components
0:00:27 | Intro - Components for Automated 1 3/8" H-Rail Systems
0:00:42 | Push 5 Channel Handheld Remote
0:00:48 | Slim Drapery Motor, Li-ion Battery + Charger
0:01:00 | AC Power Options
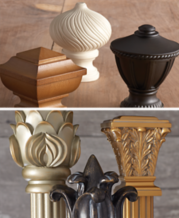
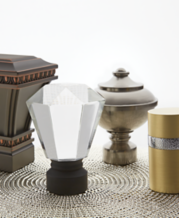
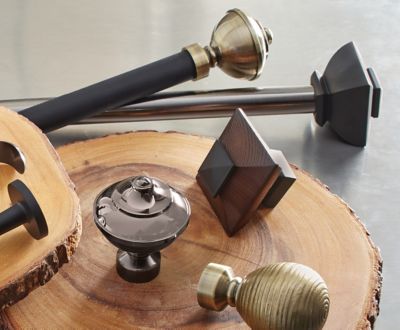
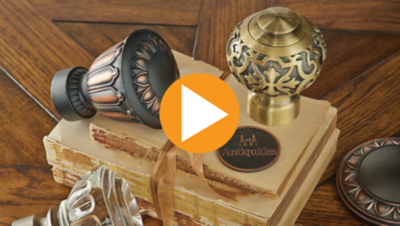
0:01:20 | AriA® Antiquities Finials
0:01:38 | Intro - Components for R-TEC Automated Track Systems
0:01:49 | Push 5 Channel Handheld Remote
0:01:53 | Slim Drapery Motor, Li-ion Battery + Charger
0:02:00 | AC Power Options
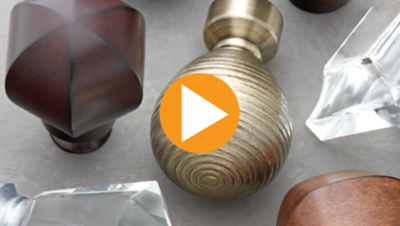
0:02:07 | Finestra® Fascia + Finials
View the Mastering Motorization Series
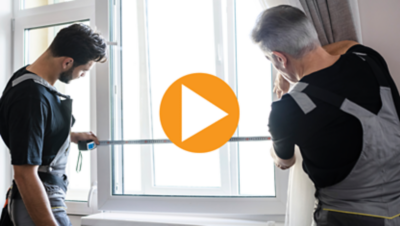
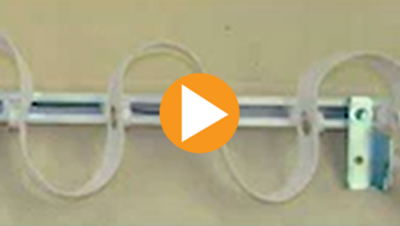
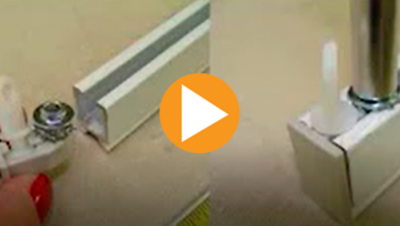
How To Install R-TEC Automation® Drapery Hardware Systems
Table of Contents:
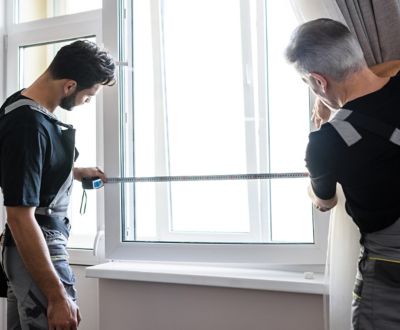
0:00:05 | Intro - Installation Tips - Automated 1 3/8" H-Rail Traverse
0:00:22 | Bracket Mounting Recommendations
0:00:49 | Installing the H-Rail Brackets
0:01:42 | Installing the System
0:02:10 | Intro - Installation Tips - R-TEC Automation Track System
0:02:16 | Bracket Location
0:03:49 | Wall Mount Assembly OR Ceiling Mount Assembly
0:04:04 | Install System into Quick Connect Clip
0:04:29 | Center Opening System
0:05:06 | Ripplefold and Pinch Pleat Install End Hooks
0:05:15 | Fascia Installation on Track
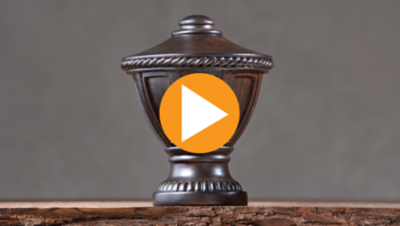
0:05:31 | Finial Installation on Fascia
View the Mastering Motorization Series

How To Attach the Motor, Pair & Program R-TEC Automation® Drapery Systems
Table of Contents:
0:00:05 | Intro - Attaching Motors to R-TEC Automation Systems
0:00:15 | Align and Engage the Li-ion Battery or AC Power with the Motor
0:00:31 | Align and Engage the Motor with the Drive Pulley
0:00:42 | Charging Instructions
0:00:53 | Intro - How To Pair and Program Push5 Remote to R-TEC Automation Systems
0:01:36 | Pair
0:02:19 | Check and Change Direction of the Motor
0:03:10 | Set Favorite Position
0:04:21 | Lock the Remote
0:05:28 | Reset to Factory Settings
0:06:00 | Intro - How To Pair and Program Push15 Remote to R-TEC Automation Systems
0:07:16 | Pair
0:07:52 | Check and Change Direction of the Motor
0:08:35 | Set Favorite Position
0:09:17 | Lock the Remote
View the Mastering Motorization Series


In this Whyte & Ivory Linings Webinar you will learn all about the Whyte & Ivory brand of British couture for your draperies, how to elevate your drapery treatments with eco-friendly linings, and tips for working with room darkening lining to prevent holes of light.


How To Order R-TEC Automation® Drapery Hardware Systems
Table of Contents:
0:00:05 | Intro - How To Order R-TEC Automated Track Systems
0:00:45 | Step 1 - Select the System
0:01:19 | Step 2 - Select the Track Color
0:01:49 | Step 3 - Select the Motor Power
0:02:30 | Step 4 - Select the Drapery Style, Draw & Master Carrier
0:03:56 | Step 5 - Select the R-TEC Smart Controls
0:04:55 | Intro - How To Order Automated 1 3/8" H-Rail
0:05:40 | Step 1 - Select Kit Style
0:06:30 | Step 2 - Select the Kit Finish
0:06:57 | Step 3 - Select the Select the Motor Power
0:07:44 | Step 4 - Select the Drapery Style, Draw & Master Carrier
0:08:56 | Step 5 - Select R-TEC Smart Controls
View the Mastering Motorization Series
Components & Add-Ons in R-TEC Automation® Drapery Hardware Systems
Table of Contents:
0:00:05 | Intro - R-TEC Automation® Track System Components
0:00:27 | Intro - Components for Automated 1 3/8" H-Rail Systems
0:00:42 | Push 5 Channel Handheld Remote
0:00:48 | Slim Drapery Motor, Li-ion Battery + Charger
0:01:00 | AC Power Options
0:01:20 | AriA® Antiquities Finials
0:01:38 | Intro - Components for R-TEC Automated Track Systems
0:01:49 | Push 5 Channel Handheld Remote
0:01:53 | Slim Drapery Motor, Li-ion Battery + Charger
0:02:00 | AC Power Options
0:02:07 | Finestra® Fascia + Finials
View the Mastering Motorization Series
How To Install R-TEC Automation® Drapery Hardware Systems
Table of Contents:
0:00:05 | Intro - Installation Tips - Automated 1 3/8" H-Rail Traverse
0:00:22 | Bracket Mounting Recommendations
0:00:49 | Installing the H-Rail Brackets
0:01:42 | Installing the System
0:02:10 | Intro - Installation Tips - R-TEC Automation Track System
0:02:16 | Bracket Location
0:03:49 | Wall Mount Assembly OR Ceiling Mount Assembly
0:04:04 | Install System into Quick Connect Clip
0:04:29 | Center Opening System
0:05:06 | Ripplefold and Pinch Pleat Install End Hooks
0:05:15 | Fascia Installation on Track
0:05:31 | Finial Installation on Fascia
View the Mastering Motorization Series
How To Attach the Motor, Pair & Program R-TEC Automation® Drapery Systems
Table of Contents:
0:00:05 | Intro - Attaching Motors to R-TEC Automation Systems
0:00:15 | Align and Engage the Li-ion Battery or AC Power with the Motor
0:00:31 | Align and Engage the Motor with the Drive Pulley
0:00:42 | Charging Instructions
0:00:53 | Intro - How To Pair and Program Push5 Remote to R-TEC Automation Systems
0:01:36 | Pair
0:02:19 | Check and Change Direction of the Motor
0:03:10 | Set Favorite Position
0:04:21 | Lock the Remote
0:05:28 | Reset to Factory Settings
0:06:00 | Intro - How To Pair and Program Push15 Remote to R-TEC Automation Systems
0:07:16 | Pair
0:07:52 | Check and Change Direction of the Motor
0:08:35 | Set Favorite Position
0:09:17 | Lock the Remote
View the Mastering Motorization Series
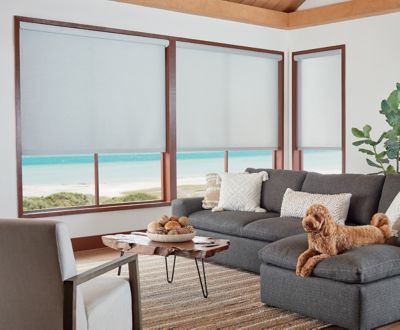
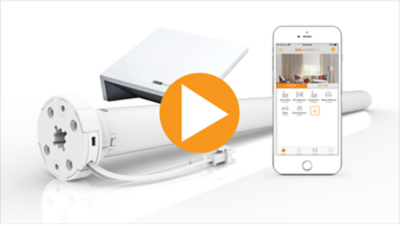
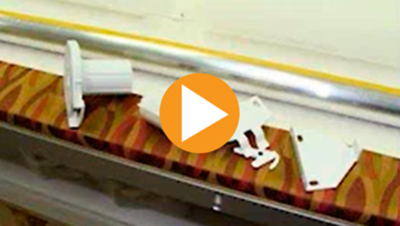
How To Assemble R-TEC Automation® Shade Tube
Table of Contents:
0:00:05 | Intro - R-TEC Automation® Shades
0:01:11 | Components
0:01:59 | Attach the Crown & Drive Set to the Shade Motor
0:02:43 | Place Motor Adapter on End of the Motor
0:03:45 | Slide Motor into Tube
0:04:10 | Place the End Pin in Tube
0:04:29 | Summary
0:04:45 | Custom Solutions
View the Mastering Motorization Series
How To Pair & Program R-TEC Automation® Shades
Table of Contents:
0:00:05 | Intro - Basic Programming for R-TEC Automated Shade Systems
0:00:30 | Pair the Motor to the Remote
0:01:08 | Check or Change the Direction of the Shade Motor
0:01:55 | Set the Upper and the Lower Limits
0:05:05 | Set a Favorite Position
0:06:48 | Lock the Remote
0:07:55 | Reset to Factory Settings
View the Mastering Motorization Series

In this webinar, you will learn:
- How to make interchangeable leading-edge panels
- A unique way to make a buttonhole without a lot of fuss
- Creative ways to design and fabricate two styles of floor pillows

In this webinar, you will learn:
- How to make an upholstered bench back
- A simple way to make a slipcover for a bench
- Throw pillows with unique detailing
Join window automation expert Donna Cash to learn how to use the R-TEC Automation® Sales Kit to gain confidence selling R-TEC Automated drapery systems and how to use the Drapery Data Book as your go-to source for sales, product specifications, and installation.
How To Order R-TEC Automation® Drapery Hardware Systems
Table of Contents:
0:00:05 | Intro - How To Order R-TEC Automated Track Systems
0:00:45 | Step 1 - Select the System
0:01:19 | Step 2 - Select the Track Color
0:01:49 | Step 3 - Select the Motor Power
0:02:30 | Step 4 - Select the Drapery Style, Draw & Master Carrier
0:03:56 | Step 5 - Select the R-TEC Smart Controls
0:04:55 | Intro - How To Order Automated 1 3/8" H-Rail
0:05:40 | Step 1 - Select Kit Style
0:06:30 | Step 2 - Select the Kit Finish
0:06:57 | Step 3 - Select the Select the Motor Power
0:07:44 | Step 4 - Select the Drapery Style, Draw & Master Carrier
0:08:56 | Step 5 - Select R-TEC Smart Controls
View the Mastering Motorization Series
Components & Add-Ons in R-TEC Automation® Drapery Hardware Systems
Table of Contents:
0:00:05 | Intro - R-TEC Automation® Track System Components
0:00:27 | Intro - Components for Automated 1 3/8" H-Rail Systems
0:00:42 | Push 5 Channel Handheld Remote
0:00:48 | Slim Drapery Motor, Li-ion Battery + Charger
0:01:00 | AC Power Options
0:01:20 | AriA® Antiquities Finials
0:01:38 | Intro - Components for R-TEC Automated Track Systems
0:01:49 | Push 5 Channel Handheld Remote
0:01:53 | Slim Drapery Motor, Li-ion Battery + Charger
0:02:00 | AC Power Options
0:02:07 | Finestra® Fascia + Finials
View the Mastering Motorization Series
How To Install R-TEC Automation® Drapery Hardware Systems
Table of Contents:
0:00:05 | Intro - Installation Tips - Automated 1 3/8" H-Rail Traverse
0:00:22 | Bracket Mounting Recommendations
0:00:49 | Installing the H-Rail Brackets
0:01:42 | Installing the System
0:02:10 | Intro - Installation Tips - R-TEC Automation Track System
0:02:16 | Bracket Location
0:03:49 | Wall Mount Assembly OR Ceiling Mount Assembly
0:04:04 | Install System into Quick Connect Clip
0:04:29 | Center Opening System
0:05:06 | Ripplefold and Pinch Pleat Install End Hooks
0:05:15 | Fascia Installation on Track
0:05:31 | Finial Installation on Fascia
View the Mastering Motorization Series
How To Attach the Motor, Pair & Program R-TEC Automation® Drapery Systems
Table of Contents:
0:00:05 | Intro - Attaching Motors to R-TEC Automation Systems
0:00:15 | Align and Engage the Li-ion Battery or AC Power with the Motor
0:00:31 | Align and Engage the Motor with the Drive Pulley
0:00:42 | Charging Instructions
0:00:53 | Intro - How To Pair and Program Push5 Remote to R-TEC Automation Systems
0:01:36 | Pair
0:02:19 | Check and Change Direction of the Motor
0:03:10 | Set Favorite Position
0:04:21 | Lock the Remote
0:05:28 | Reset to Factory Settings
0:06:00 | Intro - How To Pair and Program Push15 Remote to R-TEC Automation Systems
0:07:16 | Pair
0:07:52 | Check and Change Direction of the Motor
0:08:35 | Set Favorite Position
0:09:17 | Lock the Remote
View the Mastering Motorization Series

How To Assemble R-TEC Automation® Shade Tube
Table of Contents:
0:00:05 | Intro - R-TEC Automation® Shades
0:01:11 | Components
0:01:59 | Attach the Crown & Drive Set to the Shade Motor
0:02:43 | Place Motor Adapter on End of the Motor
0:03:45 | Slide Motor into Tube
0:04:10 | Place the End Pin in Tube
0:04:29 | Summary
0:04:45 | Custom Solutions
View the Mastering Motorization Series
How To Pair & Program R-TEC Automation® Shades
Table of Contents:
0:00:05 | Intro - Basic Programming for R-TEC Automated Shade Systems
0:00:30 | Pair the Motor to the Remote
0:01:08 | Check or Change the Direction of the Shade Motor
0:01:55 | Set the Upper and the Lower Limits
0:05:05 | Set a Favorite Position
0:06:48 | Lock the Remote
0:07:55 | Reset to Factory Settings
View the Mastering Motorization Series
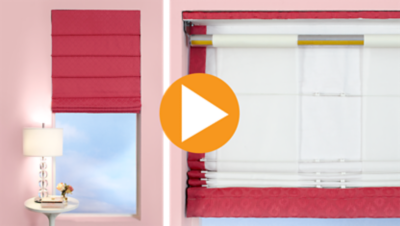
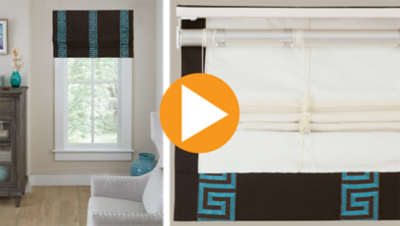

Elevate your client's window treatments to a new level of elegance and style. Transform their space with the exquisite touch of drapery panels and Roman shades, enhanced by the artistry of box pleat embellishments and eye-catching contrasting buttons. Watch as industry expert, Donna Cash designs and fabricates the window treatments shown in our Holiday Greetings Roomscape. In this video, Donna will show you how to create drapery panels with a box pleated leading edge embellishment with contrasting buttons, a Roman shade with floating ribs and assembles a motorized Roman shade headrail system.
Learn about our new Elements® Shade Collection features and benefits, customized options to specify the perfect shade solutions, and how to purchase and tools available to sell the Elements® program to your customers.

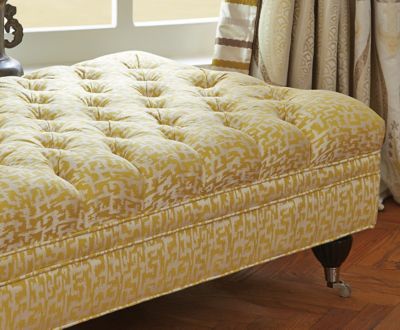
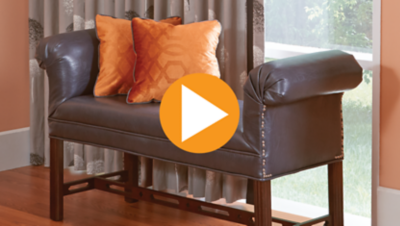
In this webinar, you will learn:
- How to make an upholstered bench back
- A simple way to make a slipcover for a bench
- Throw pillows with unique detailing
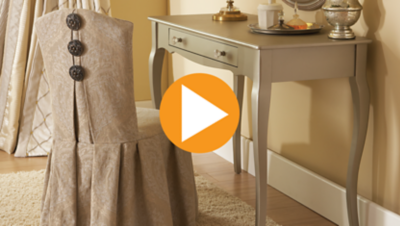

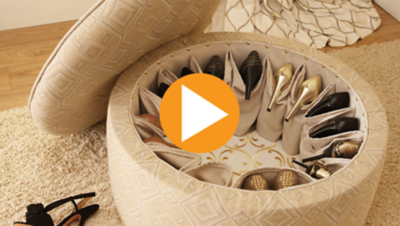
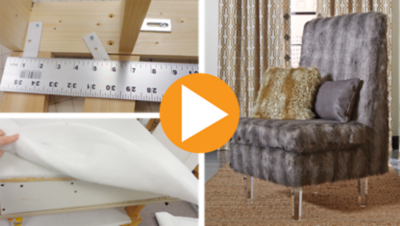
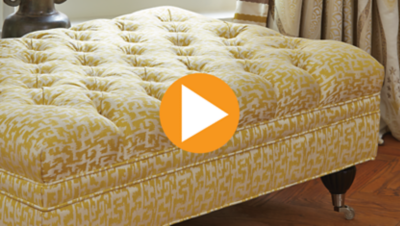
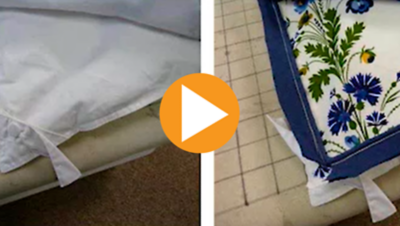
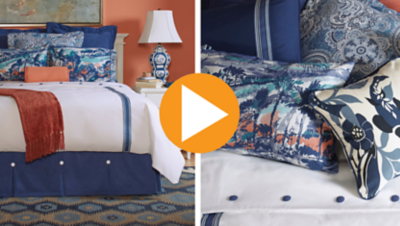
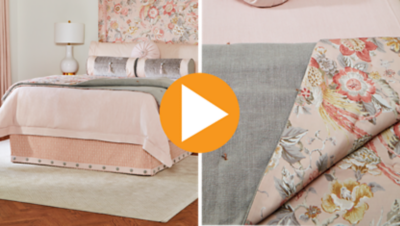
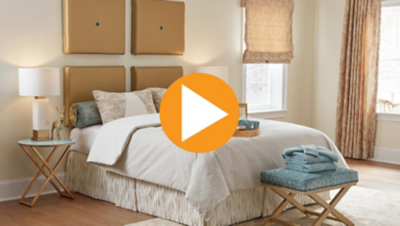
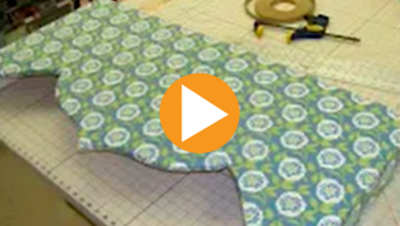
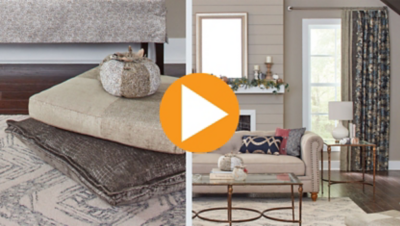
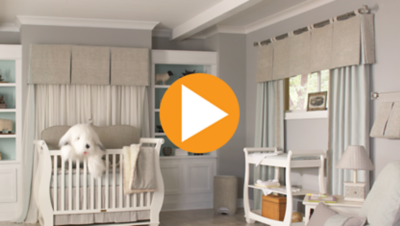
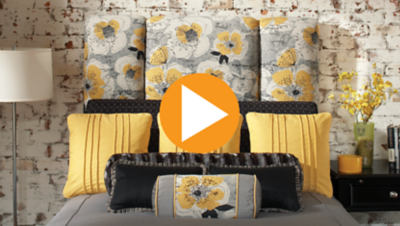
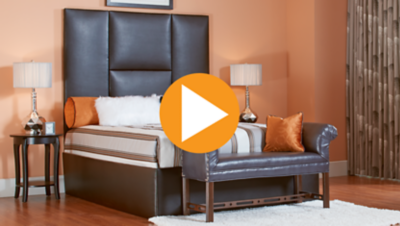
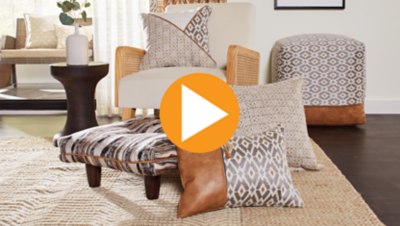
As part of our Holiday Greetings Roomscape, Fabrication Expert, Donna Cash demonstrates how to elevate the appeal of any guest space through statement upholstery projects. Adding an upholstered bench at the foot of the guest bed, is not only stylish addition but also serves as a convenient luggage rack. Looking for a truly remarkable touch for your client? Make any bed stand out with a four-piece vinyl headboard. In this video, Donna will show you how to design and make a pieced headboard using vinyl fabric using FirmaFlex™, refashion an upholstered bench, and add upholstery nail head trim strips.
Don’t miss our exclusive introduction to What’s New for 2022! Join our industry expert, Donna Cash, as she unveils our newest tools and products to help grow your business in 2022, including our new R-TEC Automation® Remote Controls and a new collection of Whyte & Ivory drapery linings.
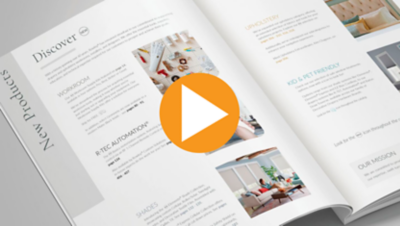
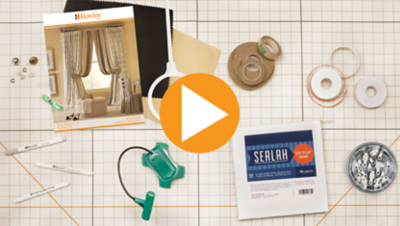
Don’t miss our exclusive introduction to What’s New for 2024! Join our industry expert, Donna Cash, as she reveals our latest tools and products designed to fuel your business growth in the new year, including our new Workroom Supply Kits, upholstery tools, and much more!


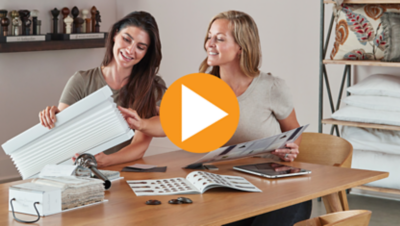
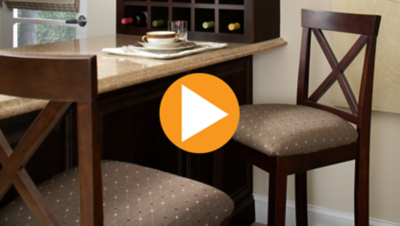
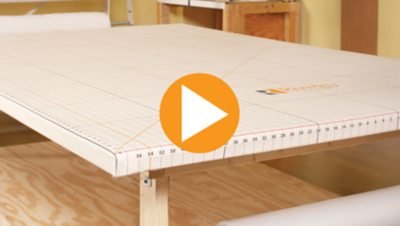
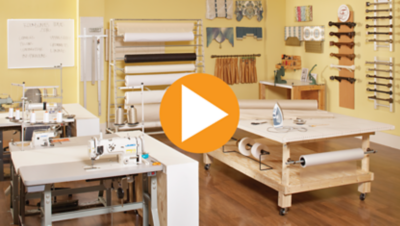
In this video, industry expert Donna Cash will share the top three things to consider when designing your workroom, what products to stock in your workroom, and the best wall display samples for your workroom.

In this Whyte & Ivory Linings Webinar you will learn all about the Whyte & Ivory brand of British couture for your draperies, how to elevate your drapery treatments with eco-friendly linings, and tips for working with room darkening lining to prevent holes of light.