HOW-TO GUIDE:
Fabricate a Dramatic Bedding Ensemble
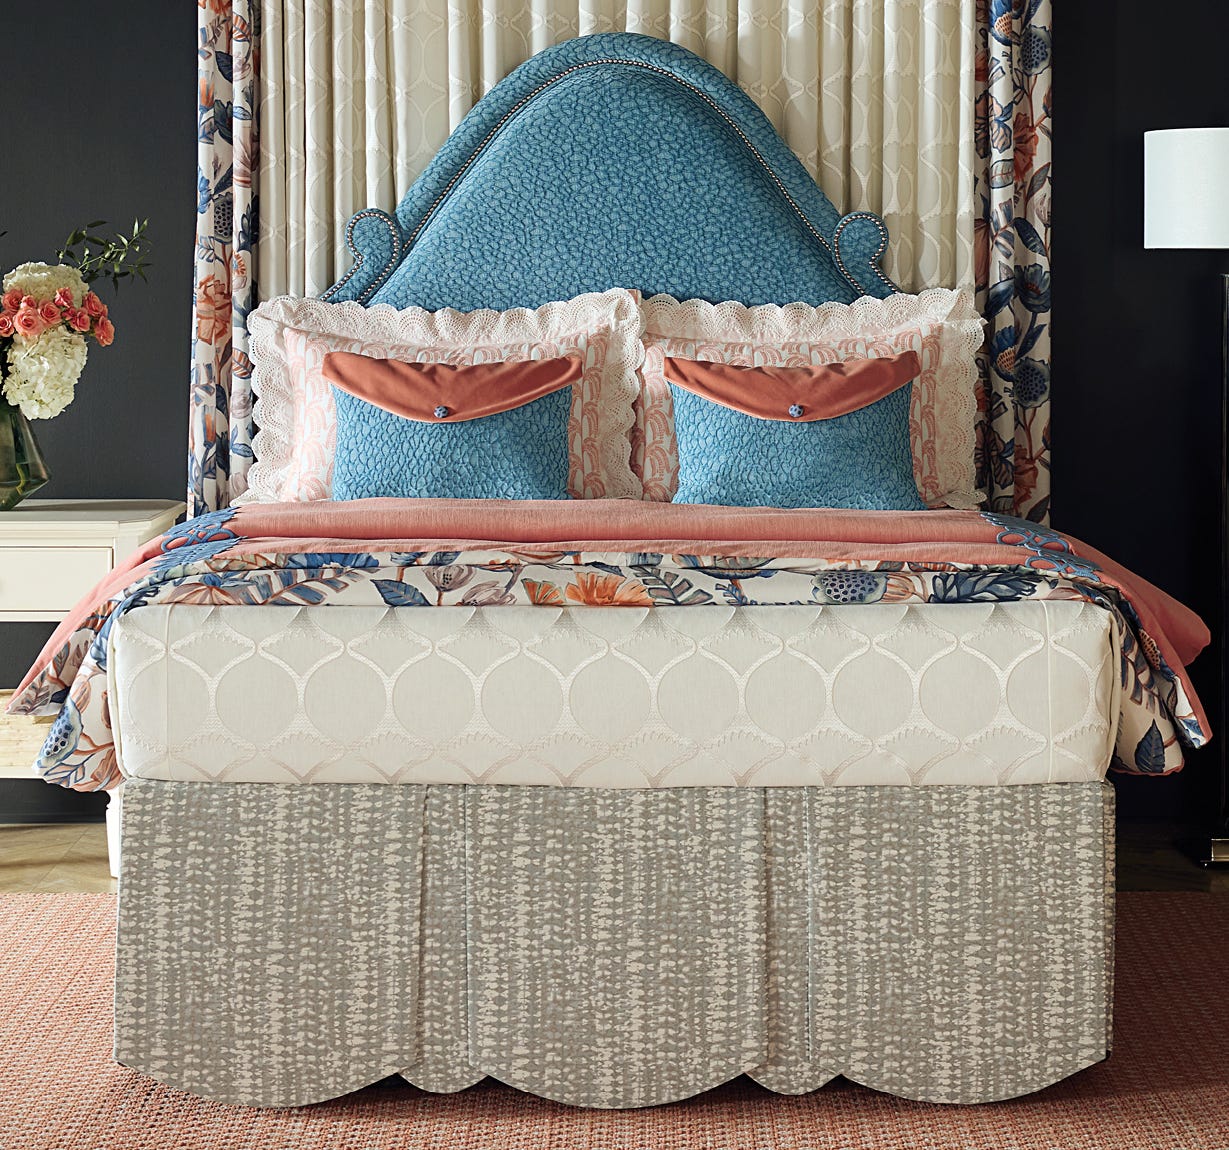
Create a dramatic bedding ensemble that includes a tailored bed sheet, a reversible duvet cover, scallop-trimmed pillows shams, envelope button detail pillows, and a scalloped bed skirt. Discover how to craft each piece.
Explore the project steps below with videos or download the printable version. Discover all Recreate the Classics projects.
Overview
Creating a well-designed bedding ensemble can transform a bedroom into a cozy sanctuary and elevate the overall sleep experience.
In this guide, you'll learn how-to fabricate a:

Measurements Needed
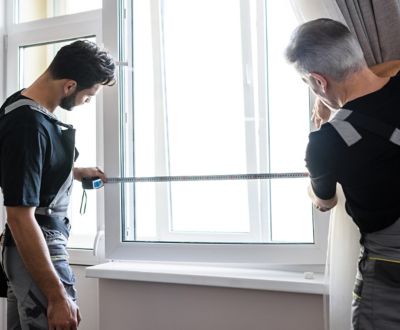
Standard US mattress sizes are shown below as a reference guide only. Always measure the entire bed, including width, length, height of bed, height of mattress, and height of boxpring, as bed sizes may vary. We recommend using either our Flexi Tape Measure or 120" Flat Tape Measure.



PRODUCTS USED


Planning
This bed sheet is pretty simple, meaning unlined. Look for lovely, mitered corners, a large fold over at the head of the bed, and top-stitched edges. Simple does not mean fast. The reason for this is due to the amount of fabric that goes into making a bed sheet for a queen-size bed. And of course, pattern-matching the seams is necessary which also takes time. Go slow and have fun.
The finished size is determined by the bed size, the mattress drop, and the tuck-in at the sides and the foot of the bed.


STEP 1
Cut the Fabric
For this bed, the mattress top measures 59 ½" wide x 79 ½" long. The mattress drop is 9 ¼". An 8" tuck-in will be used.
Determine the cut length. 79 1/2" + 9 ¼" + 8" + 8" for the hems, divided by the VR. Determine the cut width. 59 ½" + 9 ¼" + 9 1/4" + 8" + 8" + 8" for the hems. This will be the cut size after the seams have been stitched.
A large facing at the top of the sheet gives the option to turn it down when the bed is made, so we cut a facing piece and stitched it to the top of the bed sheet.
TIP: Always measure the horizontal and vertical repeat of the fabric in case it is different from the stated repeat. This may alter the amount of fabric required for the project.
STEP 2
Pin Your Pattern
Find the pattern match and use Glass Head Straight Pins to pin the seams.
STEP 3
Stitch the Seams


STEP 4
Clean Up the Seams
Remove the excess fabric from the salvages, then serge the seams.
STEP 5
Press Seams
Press the seams to one side.
STEP 6
Add Facing to the Top Edge
Add the facing to the top edge of the bed sheet.
Stitch to the top edge before pressing the facing to the back.
STEP 7
Fold & Press Hems
Fold and press the side hems and bottom hem. Use Jumbo Wonder Clips to hold in place before stitching the hems.
STEP 8
Miter the Corners
Miter the two corners at the foot of the bed sheet.
With the corners folded, use a Pen Style Chalk Marker to mark the inner and outer corners of the miter. Unfold the sides, fold the right sides together to form a triangle, and mark a stitch line from the outer corner to the inner corner. Stitch on this line.
STEP 9
Finish the Hems
Remove excess fabric from the corner, fold in the raw edges, and topstitch the bed sheet hems.
STEP 10
Add Top Stitch
Top stitch the folds of the sides, bottom hem, and facing to complete the bed sheet.
PRODUCTS USED

Planning
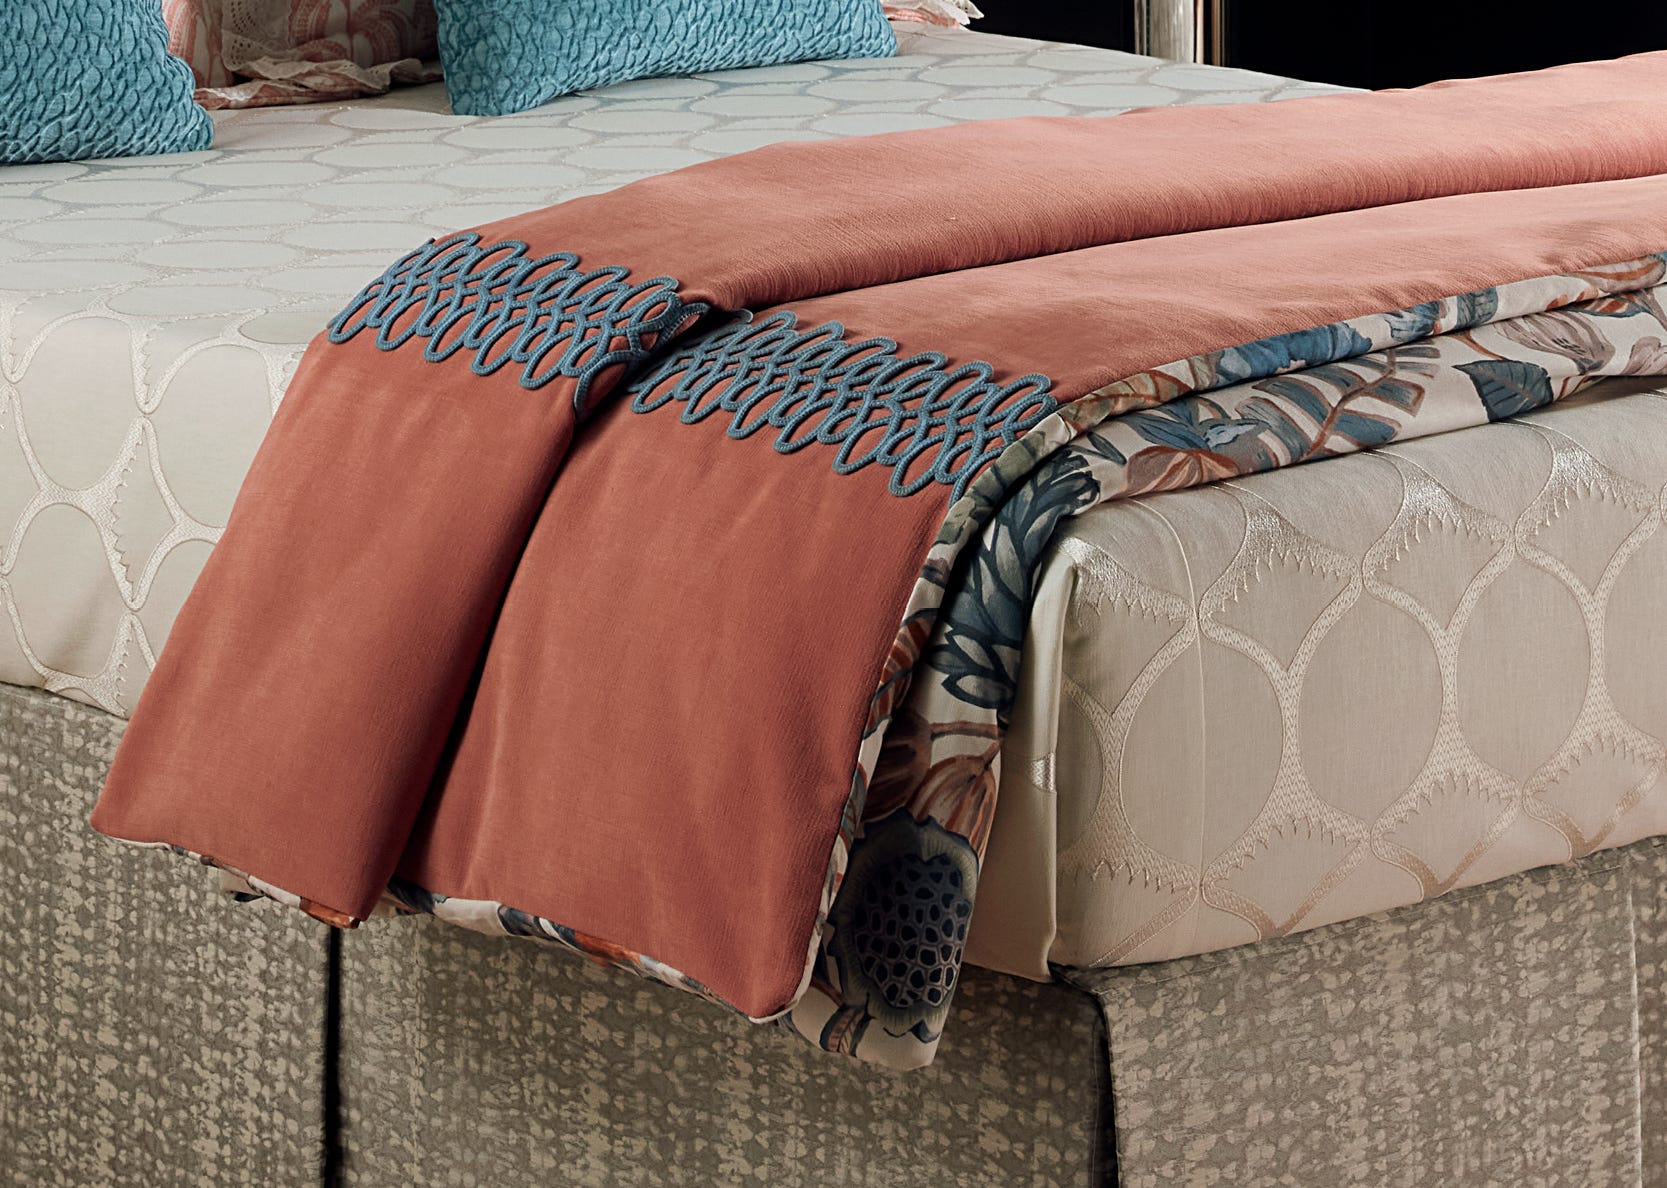
The duvet cover for this project is designed to fold at the foot of the bed, adding color and additional texture to the bed. The decorative trim is applied over the seam using Fringe Adhesive.
A Light, Queen Duvet Insert was used for this project to keep the clean lines of the overall design of the room.
STEP 1
Prep the Duvet Insert
Before cutting the fabric for the duvet, remove the duvet from the packaging. Spread it out on the table and let it relax. Fluffing the Duvet Insert will help it to plump up to its original shape.
Spread the insert on the worktable.
Measure the width and length of the insert.
Measure the position of the attached snaps (included with our duvet inserts).
NOTE: The finished duvet cover should be slightly smaller than the insert, so cut the fabric accordingly.


STEP 2
Seam Fabric Together
After cutting the fabric lengths, seam the fabric widths together with a full width in the center. Do this for both the top and reverse side fabrics. Serge raw edges for a clean finish inside the duvet cover.
TIP: Check that your pattern is aligned as you stitch the seam.


STEP 3
Add Trim
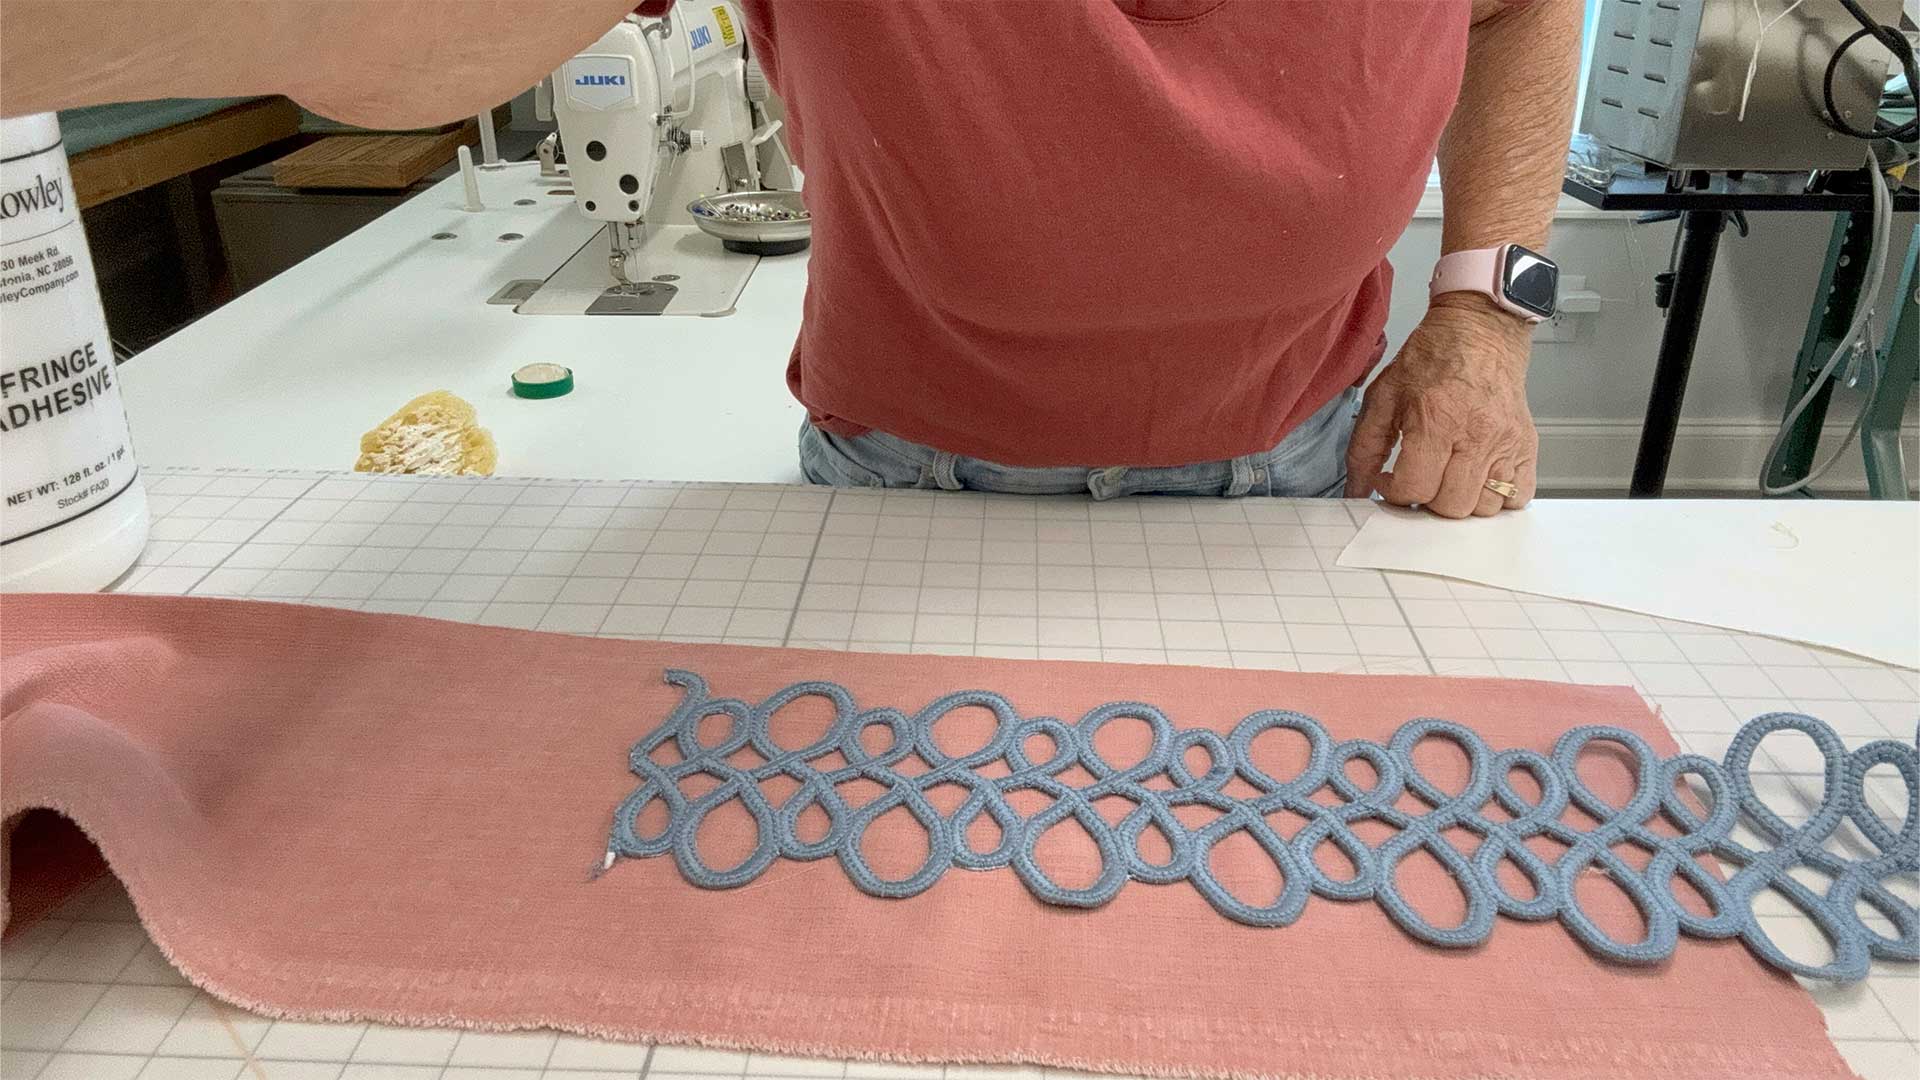
Attach trim if using. This trim was placed on the seams on one side of the duvet cover. Test an application method before attaching the trim to the duvet. For this project, Fringe Adhesive was applied to the back of the trim. Carefully place the trim over the seams. Allow to dry.

STEP 4
Install Zipper
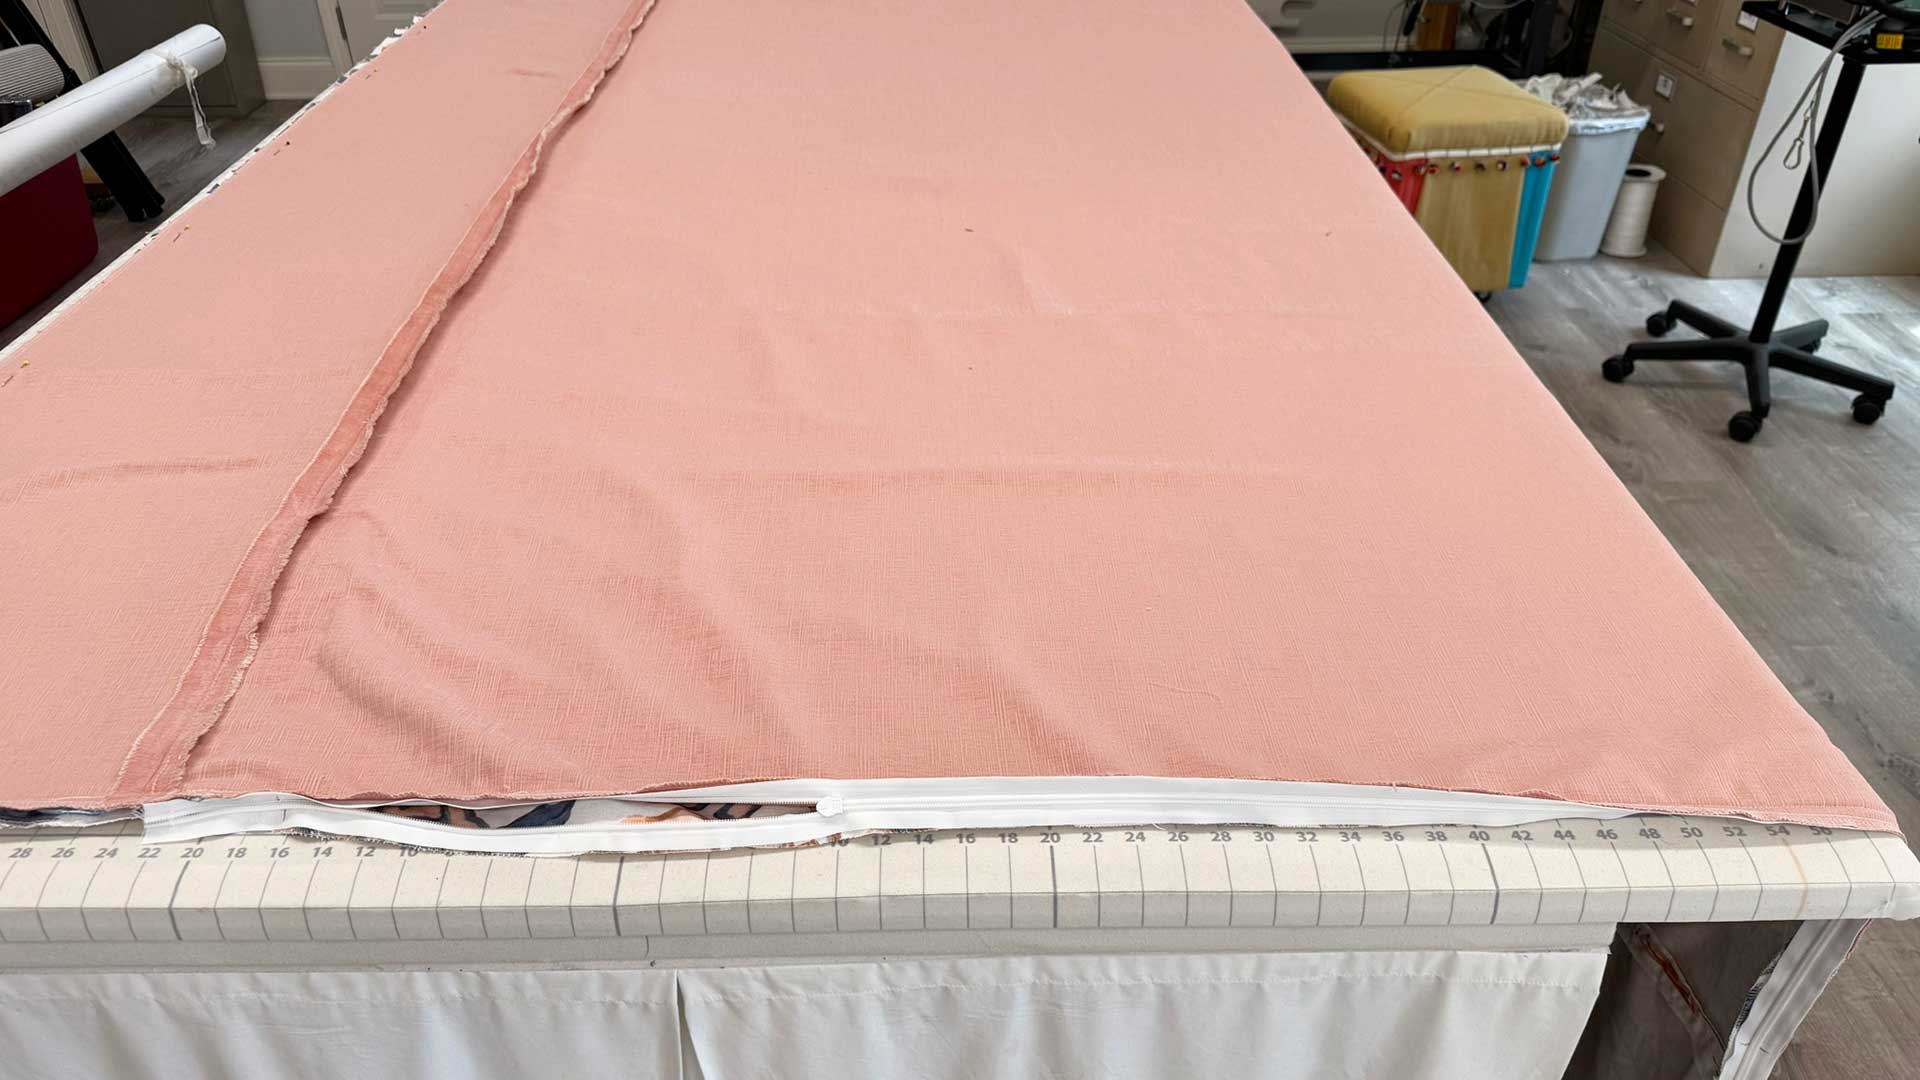
Prepare a Zipper Chain. Insert the Zipper Slide. Stitch over both ends of the zipper. Place the right sides of the duvet cover together. Insert the zipper.
STEP 5
Final Stitches
Stitch around the remaining sides of the duvet cover. Pin and stitch the snaps to the Seam Allowance (SA) of the cover.

STEP 6
Place Insert
Lay the duvet cover on the table with the snaps facing up. Place the insert on top of the cover with the snaps facing down. Attach the snaps. Carefully turn the duvet cover right side out and close the zipper.
PRODUCTS USED

Planning
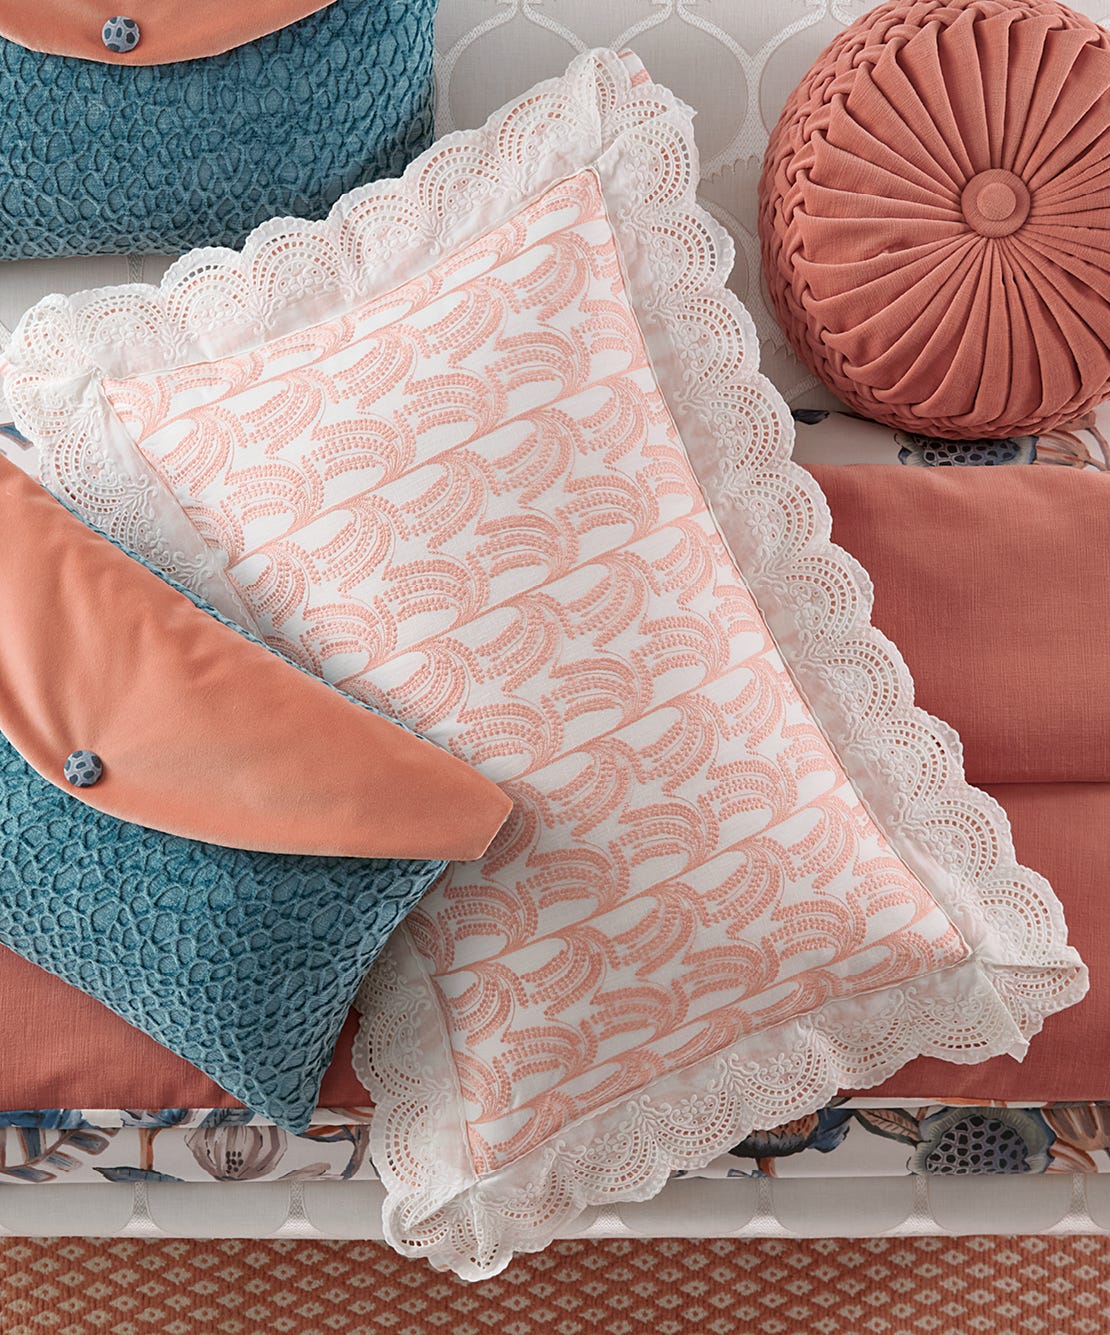
The pillow sham has a stitched flange with scallop overlay on the front.
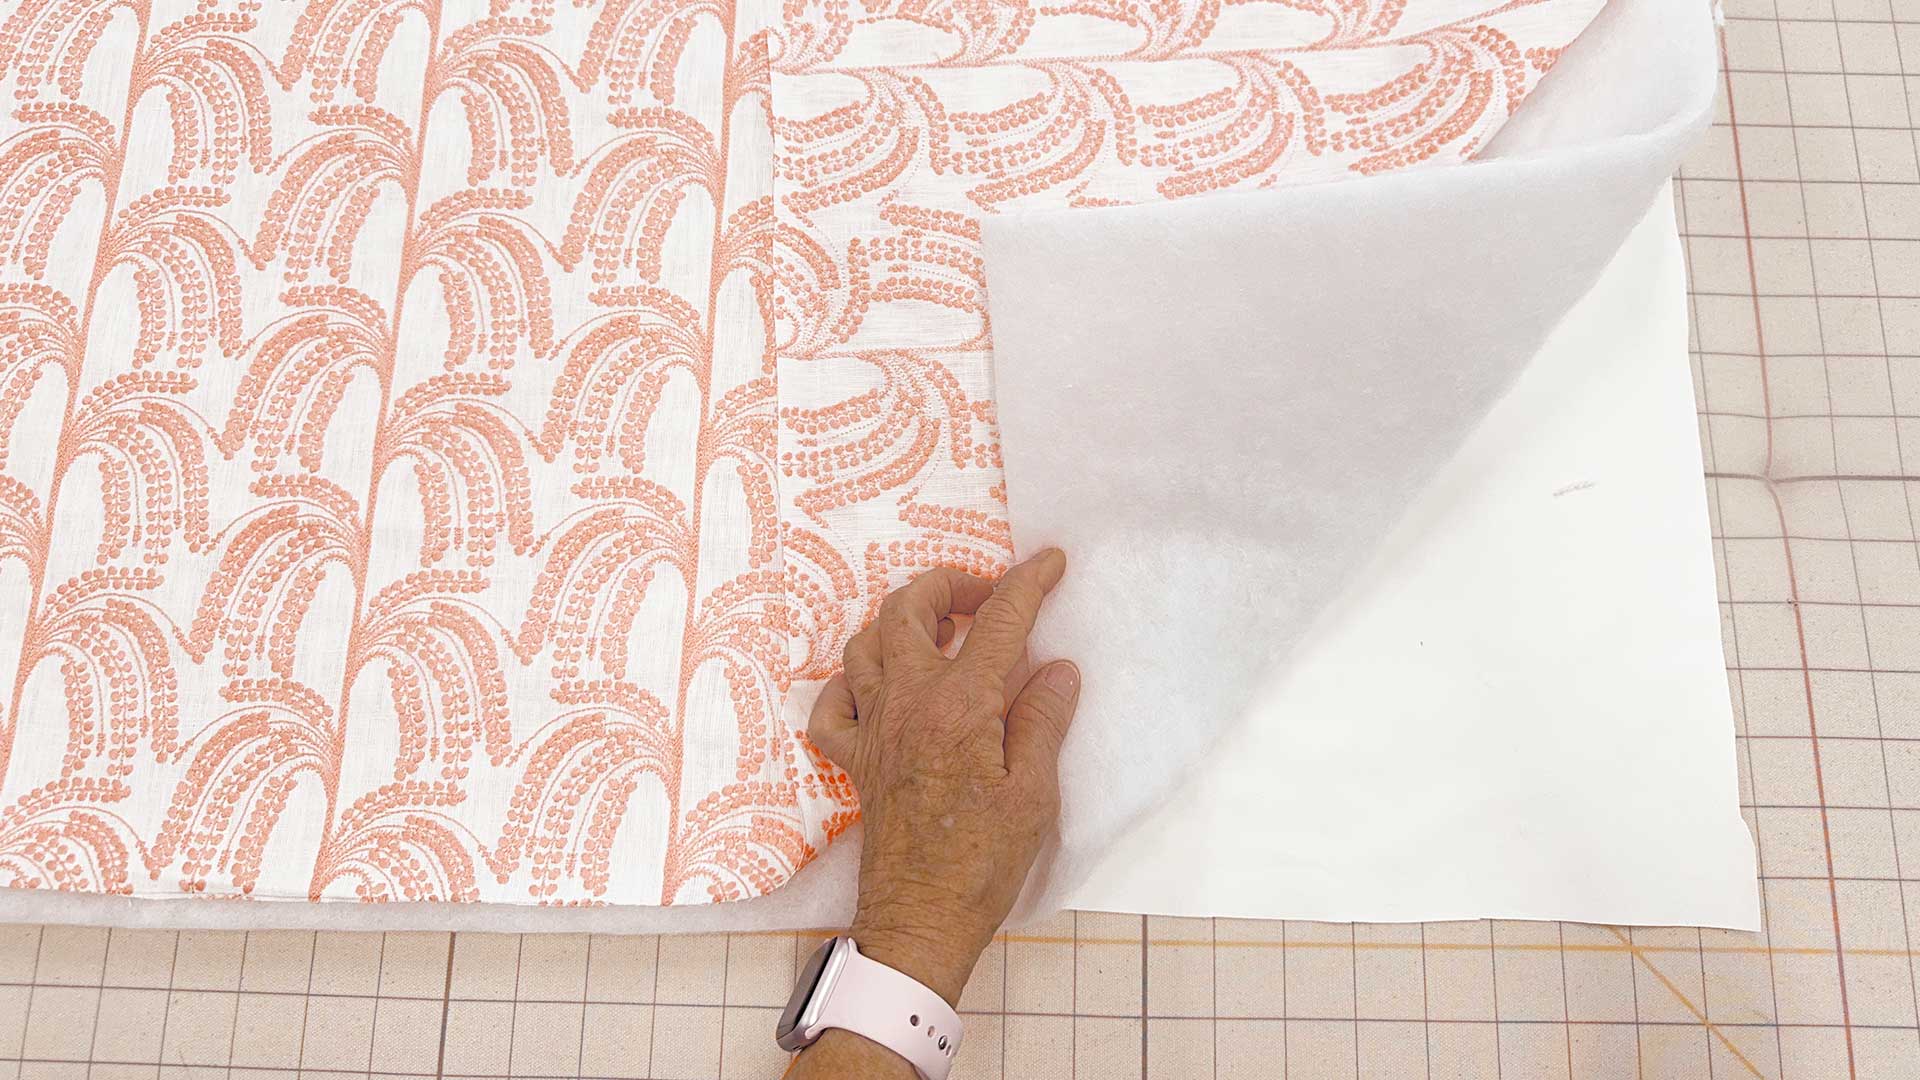
The sham front has a layer of Polyester Batting and Lining covering the batting for a clean finish inside the sham. The batting will allow the flanges to stand up rather than flopping over. The sham back is an envelope style, so a zipper is not required.
For a proper fitting pillow cover, measure the Pillow Insert from seam to seam across the width, and top to bottom.
STEP 1
Create the Design
Scale the design on a piece of graph paper, using the pillow insert measurements. The cover should measure about 1" smaller than the pillow insert measurements.
Add to this the amount of fabric required for the flanges, in this case, three inches is used. The outside edges of the shams have a ½" Seam Allowance (SA).
If you are using a patterned fabric, take care to cut on the repeat so that the pattern will match at the seams.


STEP 2
Cut Your Fabric
Cut the fabric and lining. Cut a piece of Polyester Batting the same size as the pillow front.
STEP 3
Add Lining
Starting with the pillow back section for the overlap, stitch the Lining to the inside edge, using a ½" SA. Press the seam towards the lining.
STEP 4
Stitch Edges
Fold the fabric over so that the top, side, and back edges match. Use Glass Head Straight Pins to pin and stitch these edges.
For the underlap portion of the pillow back, fold a double 1" hem, press, and stitch.
STEP 5
Size for Front of Pillow
Place the underlap on the table right sides up. Place the overlap on top of the underlap, matching the pattern. This will now be the size of the pillow front (36" x 25"). Pin together at the overlaps and baste just outside of the SA.
TIP: For a basting stitch, set your stitch length longer than normal.


STEP 6
Continue Edges
Layer the pillow front lining, the batting, and the face fabric with the right sides up. Pin around the edges and baste just outside the SA.
STEP 7
Combine the Front & Back of the Sham
Place the pillow front and pillow back together, right sides together, matching all edges. Pin and stitch. Clip corners to remove bulk.
STEP 8
Mark Placement for Flanges
Turn the cover right side out. Press the seams. Mark for the placement of the flanges, pin.


STEP 9
Add Trim
Place the scallop trim on the sham and pin in place along the stitch line for the flanges.
Stitch the trim and flange to complete the pillow sham.
TIP: At the corners, fold the trim together to create a slight, decorative miter.
STEP 10
Add Pillow Insert
Put the Pillow Insert inside the sham to complete the project.
PRODUCTS USED


Planning
This rectangular pillow is simply made and has a contrasting color overlay on the front. The envelope overlay is embellished with a fabric-covered button.
The finished pillow cover is 22" x 16".
For a proper fitting pillow cover, measure the Pillow Insert from seam to seam across the width, and top to bottom.


STEP 1
Cut the Fabric
The decorative fabric for the front and back is cut at 23" x 17".
A contrasting fabric for the overlay is cut at 23" x 18" and is self-lined.
Serge around the edges for a clean finish inside the pillow cover.
TIP: Stack your fabric before clipping away the corner threads to save time.


STEP 2
Fold & Create the Overlay
Fold the overlay in half matching the right sides together. Draw a curve shape for the overlay. Stitch the overlay before removing excess fabric from the curve. Clip the seam before turning right sides out.
TIP: Easily draw curved lines using a round Roman shade rib with small holes drilled into it.
Use Jumbo Wonder Clips to join the top of the overlay to the top edge of the pillow front.
Stitch using a ½" SA.
STEP 3
Add Zipper
Insert an Invisible Zipper in the bottom edge of the pillow. Stitch the remaining three sides of the pillow together.
Before turning the pillow cover right sides out, clip the corners to eliminate bulk.


STEP 4
Make Fabric-Covered Button
Make the fabric-covered button using Snap Together Button Forms.
Stitch to the overlay and through the pillow front.
Place the Pillow Insert inside the pillow cover and close the zipper.
PRODUCTS USED
Planning
This three-piece bed skirt has clean lines and is classic in design. Each section is individually made.
The band is easily attached to the box springs with a Basting / Tacking Gun, or it may also be attached to a separate decking using Hook and Loop Tape on the decking and the back of the skirt banding.
Notice the sides of the skirt wrap around the foot of the bed and under the skirt at the foot of the bed, eliminating the use of a gusset in the corners.
TIP: Use this skirt style when you do not want a lot of fabric fullness or ripples along the hemline.


STEP 1
Cut Skirtex
Cut the Skirtex lengths based on the size skirt being made.


STEP 2
Create a Pattern
Create a pattern for the bed skirt sections using Skirtex.
TIP: Easily draw curved lines using a round Roman shade rib with small holes drilled into it. Cut the curve shape along the bottom of the Skirtex sections.
STEP 3
Cut the Lining
Use the Skirtex sections to cut the Lining. Place the lining on the table, the wrong side up, and place the Skirtex sections on the lining. Use the Skirtex as a pattern for cutting the lining along the sides and bottom.
Cut an extra 3" of lining above the Skirtex at the top edge.


STEP 4
Join Skirtex with Lining
Join the Skirtex and lining using Sealah No-Sew Adhesive Tape.


STEP 5
Cut the Face Fabric
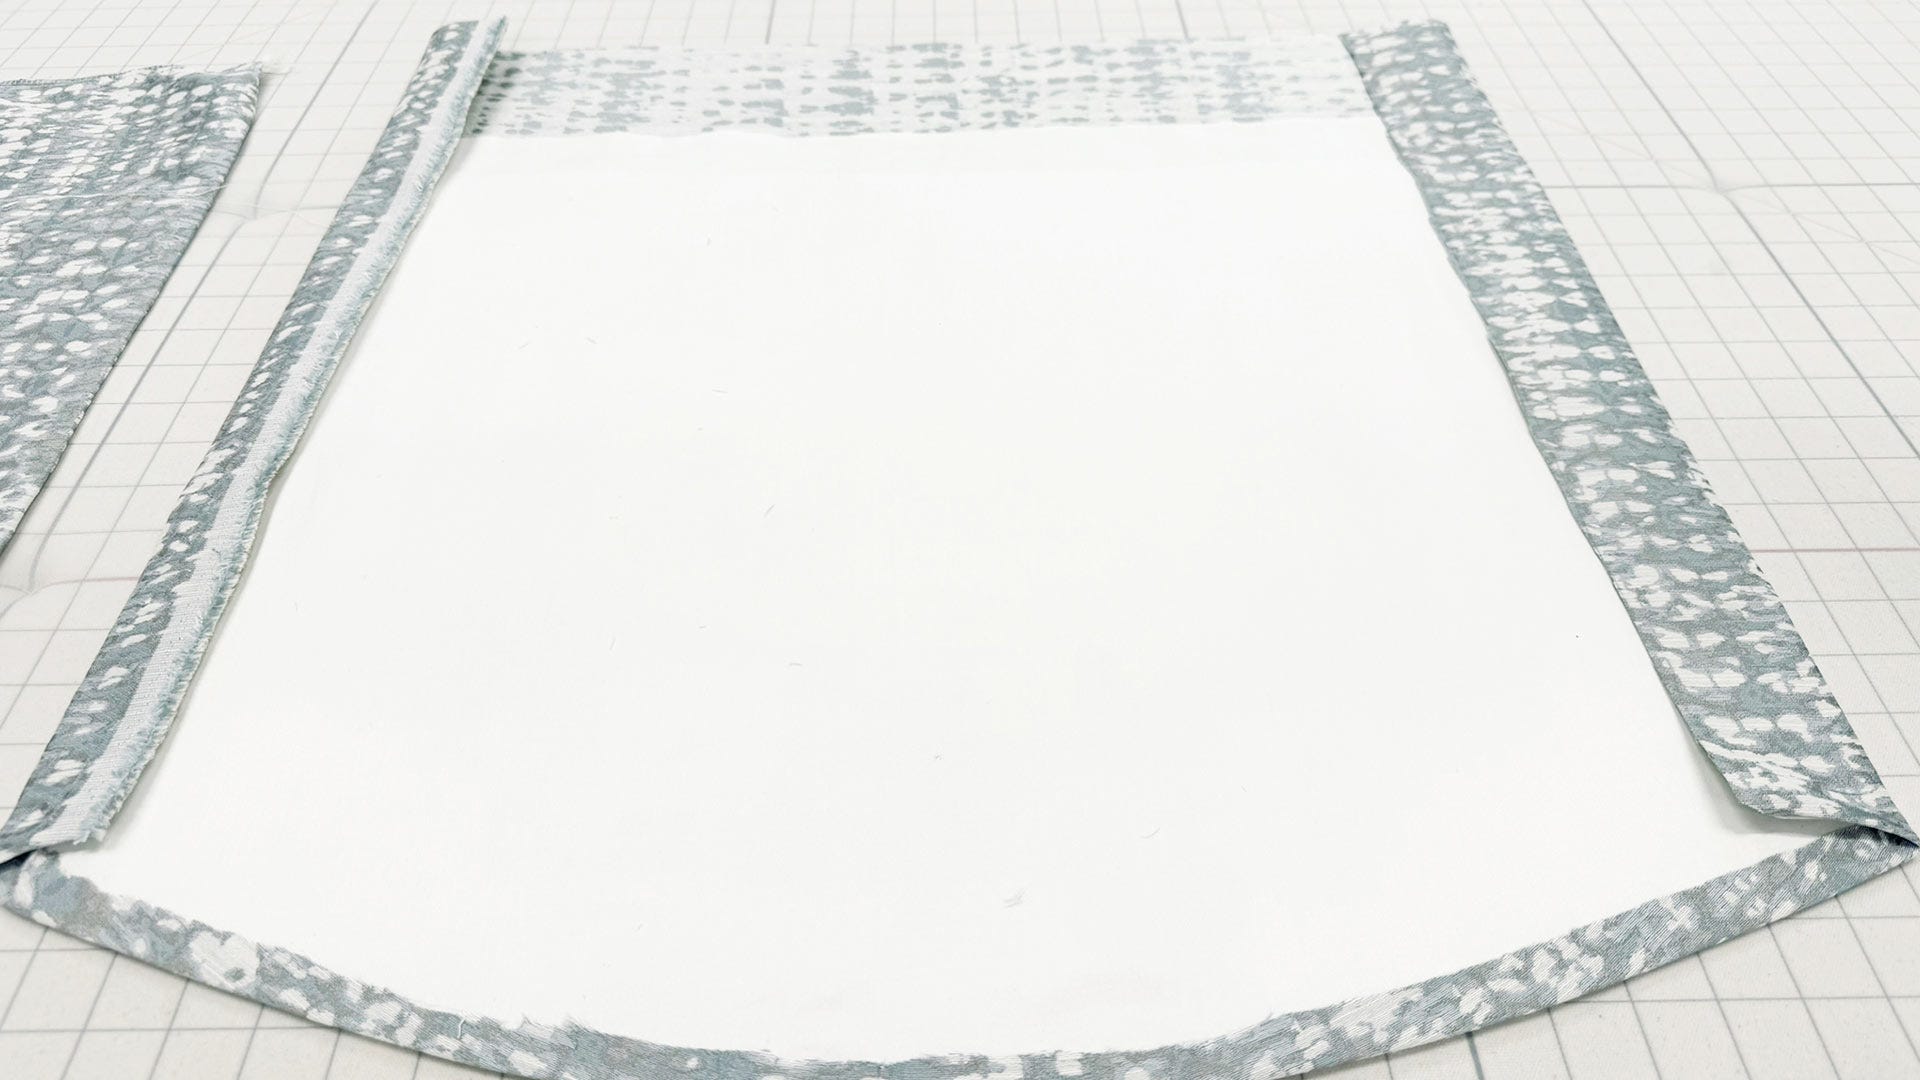
Place the face fabric face down on the table. Place the lining, with the Skirtex, lining side up on the face fabric. If using a fabric with a repeat, center each section on the repeat. Cut the fabric leaving a 1" border around the bottom and sides. Cut 3" additional along the top edge.

STEP 6
Press the Sides of the Fabric
Press the sides of the face fabric around the Skirtex and lining.
STEP 7
Join the Skirtex with Lining
Close the sides in your method of choice – Sealah No Sew Adhesive Tape, Iron-On Bonding Tape, or Fringe Adhesive.
STEP 8
Stitch Tops
Press the top edge towards the back. Unfold and stitch along the crease line to close the lining and the face fabric together.
STEP 9
Add Gimp
Cover the raw edges with Gimp using Fringe Adhesive.
STEP 10
Create Top Band
Fold the top edge to create a band. Press and close in your method of choice – stitching, Iron-On Bonding Tape, or Fringe Adhesive.
STEP 11
Create Bed Skirt Sections
Overlap the bed skirt sections with the underlays. Use Glass Head Straight Pins to pin together to the size for the two sides and one-foot section.
Stitch each of the sections together. Miter the ends of the side sections with the additional flap of fabric to wrap around the foot of the bed.
STEP 12
Install Bed Skirt
This skirt is to be installed with a Basting / Tacking Gun into the mattress.


